The 12 battles of the Isonzo (1915-1917) during the First World War: key campaigns on the Italian front.
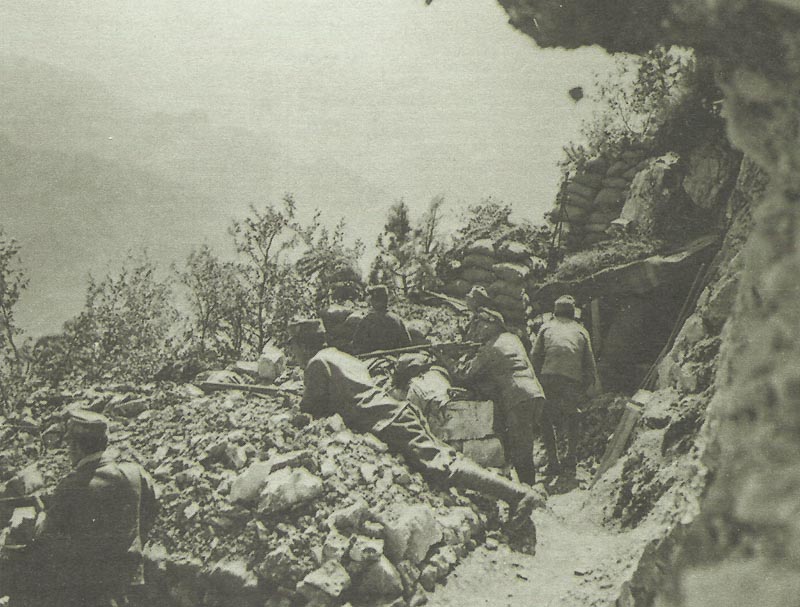
The 12 Battles of the Isonzo were a series of major fights between Italy and Austria-Hungary during World War I. These battles took place from 1915 to 1917, mostly along the Isonzo River in northeastern Italy.
The repeated clashes were known for their heavy losses and difficult mountain fighting, but neither side gained much ground for most of the war.
Many historians point to the Isonzo battles as examples of the tough and exhausting warfare seen on the Italian Front during the First World War. They involved long stretches of trench warfare, intense artillery use, and harsh conditions for the soldiers.
These conflicts played a big part in shaping the course of World War I in Europe. Each army hoped to break the deadlock, but it rarely worked out as planned.
Historical Context of the Isonzo Front
Table of Contents
The Isonzo Front was a major theater of conflict between Italy and the Austro-Hungarian Monarchy from 1915 to 1917. This area became central due to its geography, military significance, and the political goals of the countries involved.
The Outbreak of World War One
World War One began in July 1914 after the assassination of Archduke Franz Ferdinand of Austria. The crisis rapidly involved most of Europe due to a system of alliances, including the Triple Alliance, which originally connected Germany, Austria-Hungary, and Italy.
By August 1914, two main blocs had formed: the Allies and the Central Powers. Battles soon stretched from the Western Front in France to the Eastern Front in Russia.
Italy, although part of the Triple Alliance, did not immediately join the war. While Austria-Hungary and Germany quickly mobilized, Italy waited and watched, seeking the best moment to enter based on its own interests.
Strategic Importance of the Isonzo River
The Isonzo River runs near the present-day border between Italy and Slovenia. It flows through a mountainous region, which in 1915 was part of Austria-Hungary.
Control of the Isonzo region was critical for breaking into the Austro-Hungarian heartland. The river’s steep valleys made attacks difficult but gave whoever held them a strong defensive position.
This meant both sides saw it as a key military target. The rugged landscape limited movement and often slowed advances.
The Italian Front, especially at the Isonzo, became known for tough conditions, massive fortifications, and repeated offensives.
Italy’s Entry Into the War
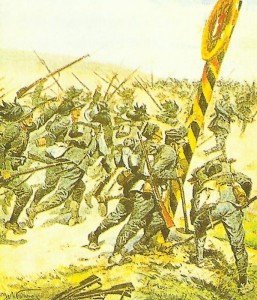
Italy entered World War One in May 1915 after signing the Treaty of London with the Allies. Italy was promised territories such as Trentino, South Tyrol, and parts of the Isonzo region if it joined against Austria-Hungary.
The Italian army quickly mobilized against their former allies in the Austro-Hungarian Monarchy. Their main goal was to push through the Isonzo River line and capture key cities like Trieste, which was under Austrian control.
Italy’s decision to enter the war created a new front, stretching from the Alps to the Adriatic Sea. This Italian Front became one of the most important and costly areas of fighting in the war.
Austro-Hungarian and Italian Objectives
The Austro-Hungarian Monarchy wanted to defend its territory along the Isonzo and prevent Italian advances. The river formed a natural barrier protecting important cities and transport routes deeper into Austria-Hungary.
The Italian army aimed to break through these defenses and secure land promised in secret treaties. Their strategy included launching repeated offensives along the Isonzo, hoping to force the Austro-Hungarians to divert forces from other fronts.
Both sides used large armies and heavy artillery. Despite many attacks, the front lines moved little, causing thousands of casualties for very limited territorial gains.
Geography and Conditions of the Isonzo Region
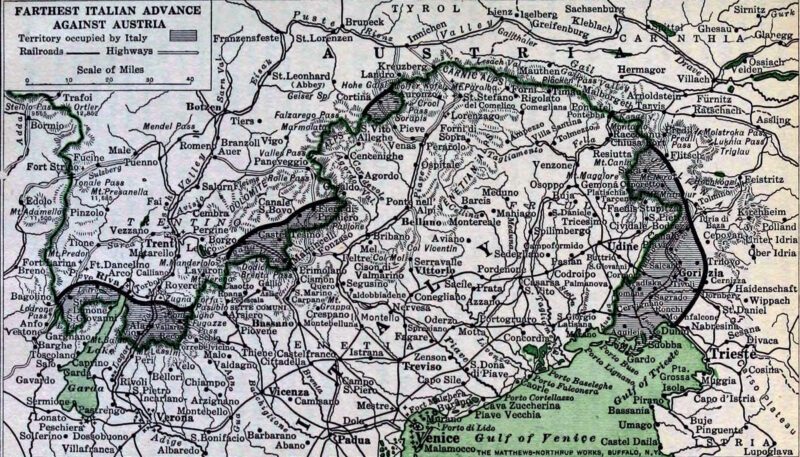
The Isonzo region in World War One was marked by steep mountains, narrow valleys, and the swift-flowing Isonzo (Soča) River. The location was crucial, impacting troop movement, supply routes, and strategies throughout the battles.
Terrain and Climate Challenges
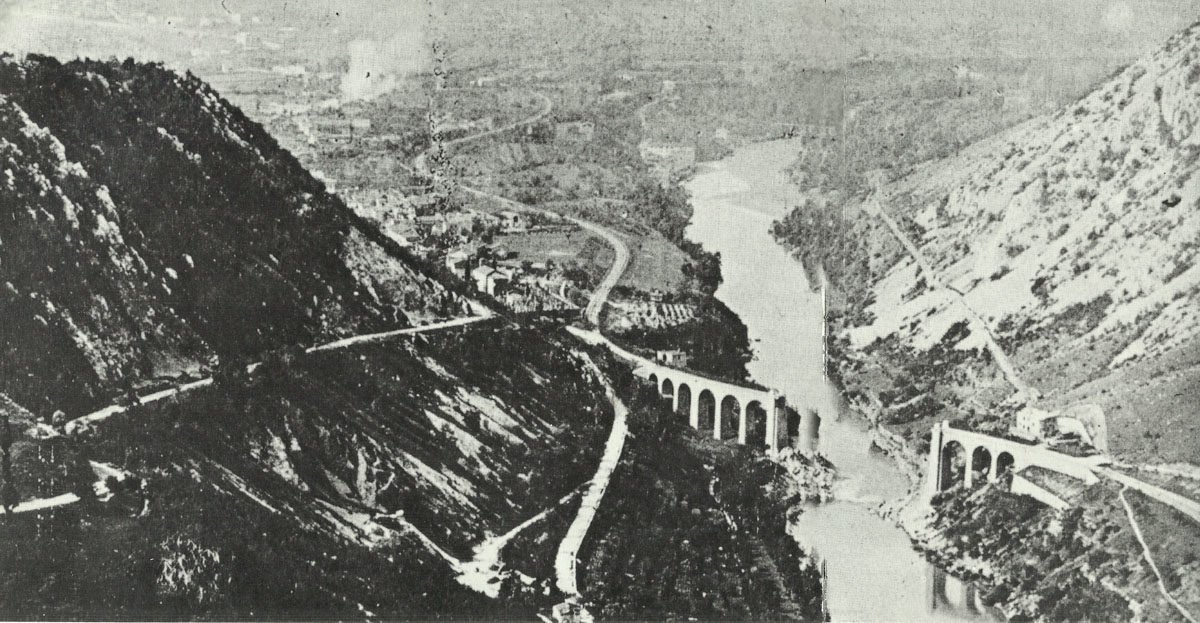
The Isonzo Front covered nearly sixty miles, starting from the Julian Alps and stretching toward the Adriatic Sea. Much of the fighting took place in rugged, rocky landscapes, including high peaks like Monte Santo, Monte San Gabriele, and Monte Grappa.
Soldiers had to cross narrow ridges and climb steep cliffs, often under enemy fire. Rain, snow, and freezing winds could turn trails into muddy, dangerous paths.
The Bainsizza Plateau and areas near Doberdo were especially exposed and hard to defend. The climate varied by season.
In winter, deep snow made movement almost impossible. In summer, hot sun and little shelter increased the risk of exhaustion.
Poor roads and limited railway access made supplying armies challenging, often leading to shortages of food and ammunition.
Significant Cities and Landmarks
Gorizia stood as the main city along the river and was a key objective for both sides. Its capture by Italian forces in 1916 was seen as a rare success in an otherwise static front.
The city’s rail connections and defensive positions made it vital for controlling the region. Another important urban center was Trieste, a port city on the Adriatic, though it was further from the front lines.
Its potential as a target influenced military plans. Towns like Tolmin also featured as supply hubs and staging points for both armies.
Notable natural features shaped the fighting too. The Soča (Isonzo) River cut through deep valleys, while the Vršić Pass provided a crucial route through the mountains.
These landmarks often forced armies into narrow attack lanes, making defense easier but breakthroughs difficult.
Strategic Crossing Points and Bridgeheads
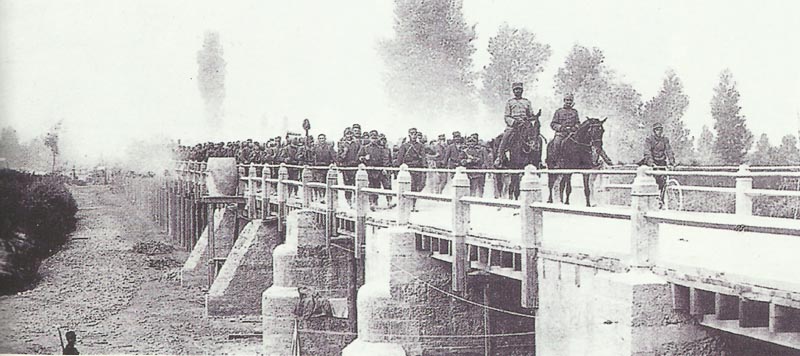
The Isonzo River itself was the main natural barrier and made attacks difficult. Its fast current and rocky banks limited the number of places where armies could cross.
Building and holding bridgeheads, especially at night or under fire, became central to both offensive and defensive tactics. Gorizia, set beside a major river crossing, was targeted repeatedly because controlling it let armies move troops and supplies more easily.
The area around Monte San Gabriele and Monte Santo saw some of the fiercest fighting as both sides tried to control high ground near important crossing points. Bridge construction was slow and risky.
Wooden pontoons and temporary bridges had to be built under constant artillery fire. When one side managed to hold a bridgehead, it could launch new attacks or reinforce positions, shifting the momentum of the battles.
The struggle over these sites was constant throughout all twelve battles.
Military Forces and Commanders
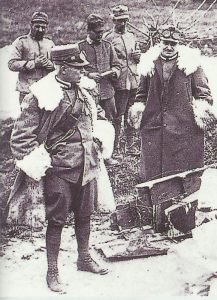
Both sides in the Isonzo battles used large numbers of infantry, artillery, and support troops. Leadership, tactics, and the makeup of each army played important roles in the outcome of the campaign.
Italian Army Organization and Leadership
The Italian Army, led by General Luigi Cadorna, fought on the Isonzo front. Cadorna served as Chief of Staff and commanded the Italian forces throughout most of the campaign.
Under his strict and centralized leadership, the army relied on repeated attacks against heavily fortified Austro-Hungarian positions.
Key Italian Army Structure:
Formation |
Notable Commanders |
|---|---|
Second Army |
Pietro Frugoni, others |
Third Army |
Emanuele Filiberto di Savoia |
Most soldiers in the Italian Army were conscripts. The army struggled with morale and lack of equipment.
The Italian government also faced political pressure for quick victories, which influenced military decisions.
Austro-Hungarian Army Composition
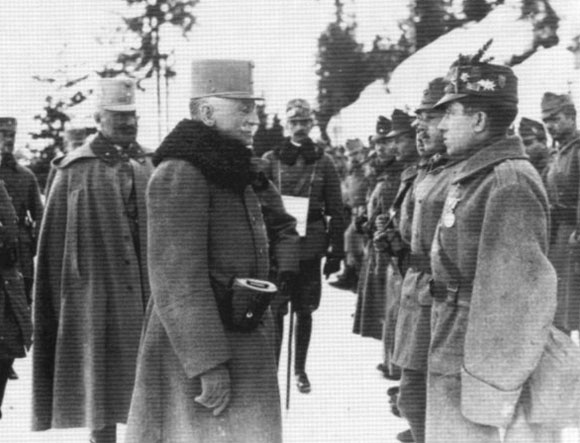
The Austro-Hungarian Army defended the Isonzo line with mixed units from across the empire. Their forces included Austro-Hungarian and Hungarian soldiers, along with other ethnic groups like Czechs, Croats, and Slovenians.
The army was often outnumbered, but made use of well-built defensive positions on high ground. Austro-Hungarian army characteristics:
- Multinational composition led to language barriers.
- Effective use of mountain fortifications and machine guns.
- Troops rotated from different regions, causing varied experience levels.
Commanders in the region focused on conserving their smaller forces by relying on the difficult terrain and prepared defenses instead of direct attacks.
Involvement of Allied and Central Powers
While most fighting involved the Italian and Austro-Hungarian armies, both sides received support from alliance partners. Germany provided assistance to Austria-Hungary, mainly in the later stages of the campaign.
German troops arrived in autumn 1917, before the Twelfth Battle, bringing fresh tactics and experience.
The Allies, including France and Britain, sent limited material and technical support to Italy but did not take a direct combat role during the early battles. This indirect involvement increased as the campaign dragged on and as Italian losses grew.
Timeline of the 12 Battles of the Isonzo
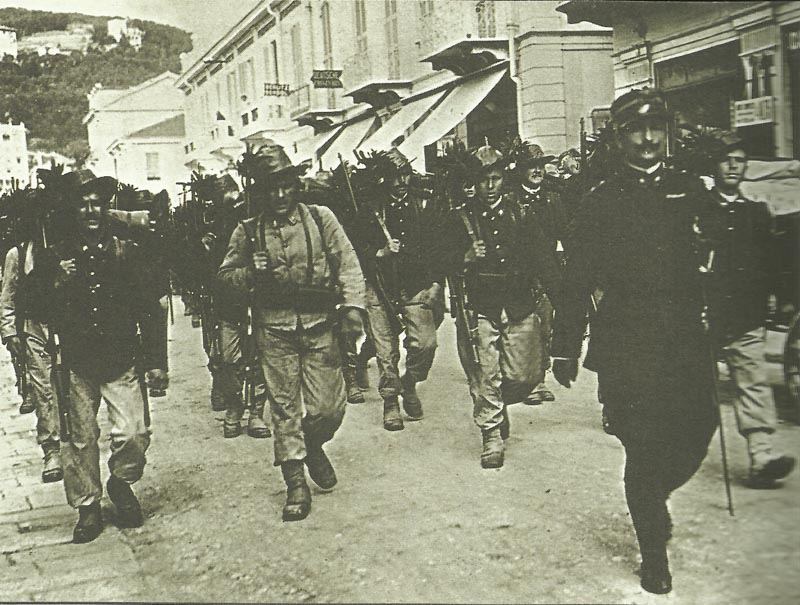
The Battles of the Isonzo were a series of twelve major offensives fought between the Kingdom of Italy and Austria-Hungary from 1915 to 1917. These battles took place along the Isonzo River, featuring repeated attempts by Italian forces to break through enemy lines in harsh, mountainous terrain.
First to Sixth Battles: Early Campaigns
The first battle kicked off in June 1915, not long after Italy jumped into World War I. Italian troops tried to break through, but Austro-Hungarian defenses held firm and progress was painfully slow.
All summer and autumn, the Italians hammered away—six battles in all—mainly aiming for Gorizia and the Carso Plateau. They dug miles of trenches and laid down supply lines, but the rough terrain and stubborn resistance meant casualties piled up for both sides.
Even after repeated attacks, gains were mostly just a few muddy yards along the river. The big exception was the Battle of Gorizia in August 1916, during the Sixth Battle. After some brutal fighting, Italy finally took the city—a rare win that gave everyone a much-needed boost.
By then, both armies were running on fumes. The tone was set: lots of blood, not much ground gained, and a sense that this front would be a slog.
Seventh to Eleventh Battles: Stalemate and Attrition
With Gorizia in Italian hands, neither side could really tip the scales. From September 1916 to September 1917, battles seven through eleven saw wave after wave of Italian offensives along the Isonzo, and every one ended in a stalemate.
Fighting raged across trenches, rocky slopes, and narrow valleys. Commanders focused their attacks on small stretches, throwing in heavy artillery and sending infantry charging forward.
Casualties kept climbing as the Italians tried to grind down the enemy. Both sides were stretched thin, supplies ran low, and morale took a hit. The Austro-Hungarians, though outnumbered, dug in and wouldn’t budge.
By the close of the eleventh battle, over a million soldiers were out of action. The front barely moved. It was attrition warfare at its most exhausting.
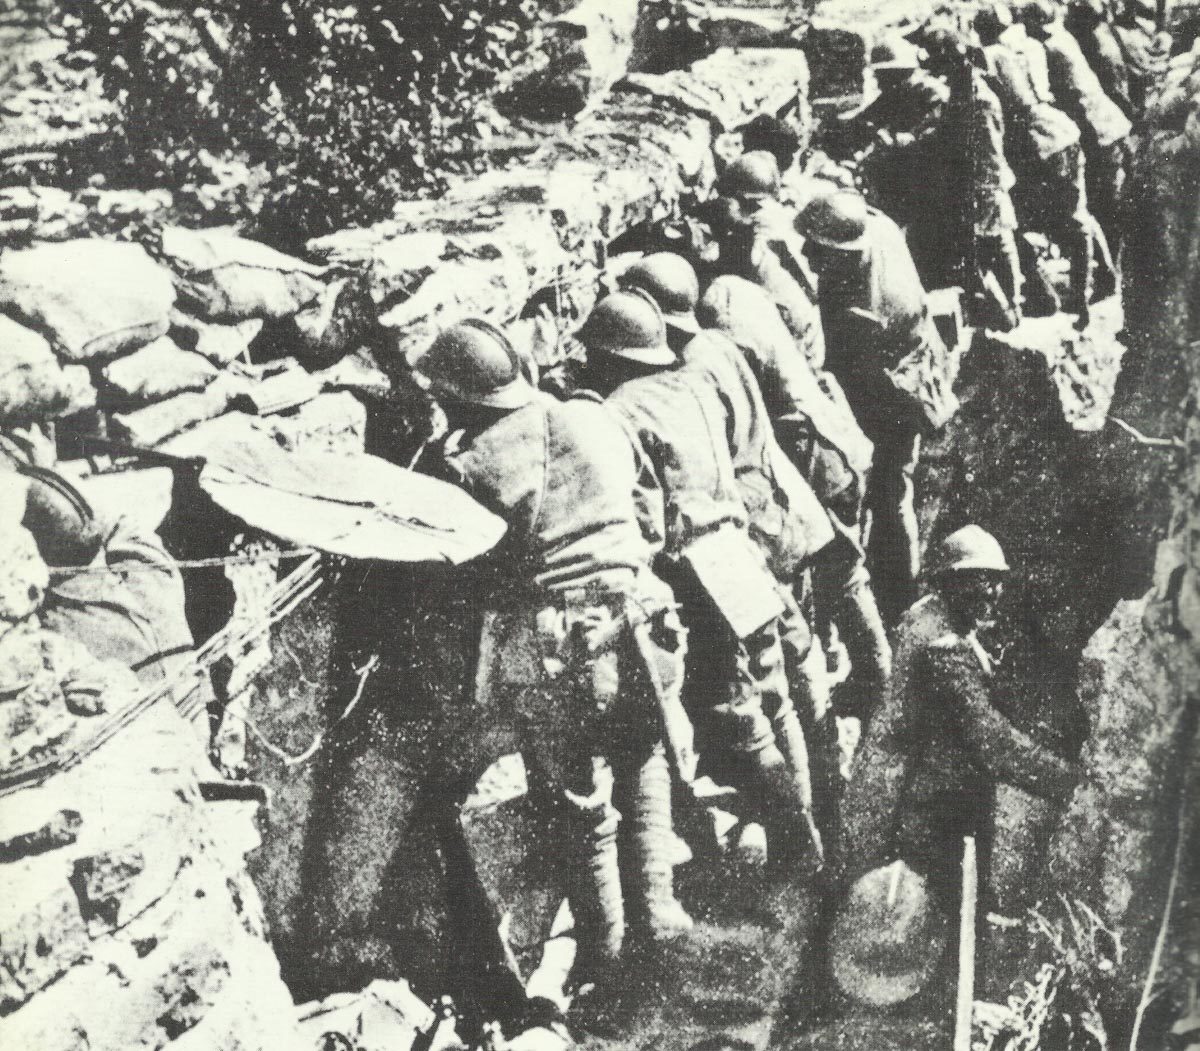
The Twelfth Battle of the Isonzo: The Battle of Caporetto
The Battle of Caporetto, from October 24 to November 19, 1917, flipped the script on the Italian Front. Italy suffered a crushing defeat, the Central Powers surged forward, and Italian forces were sent reeling in a chaotic retreat. More on that here if you’re curious.
German and Austro-Hungarian Breakthrough
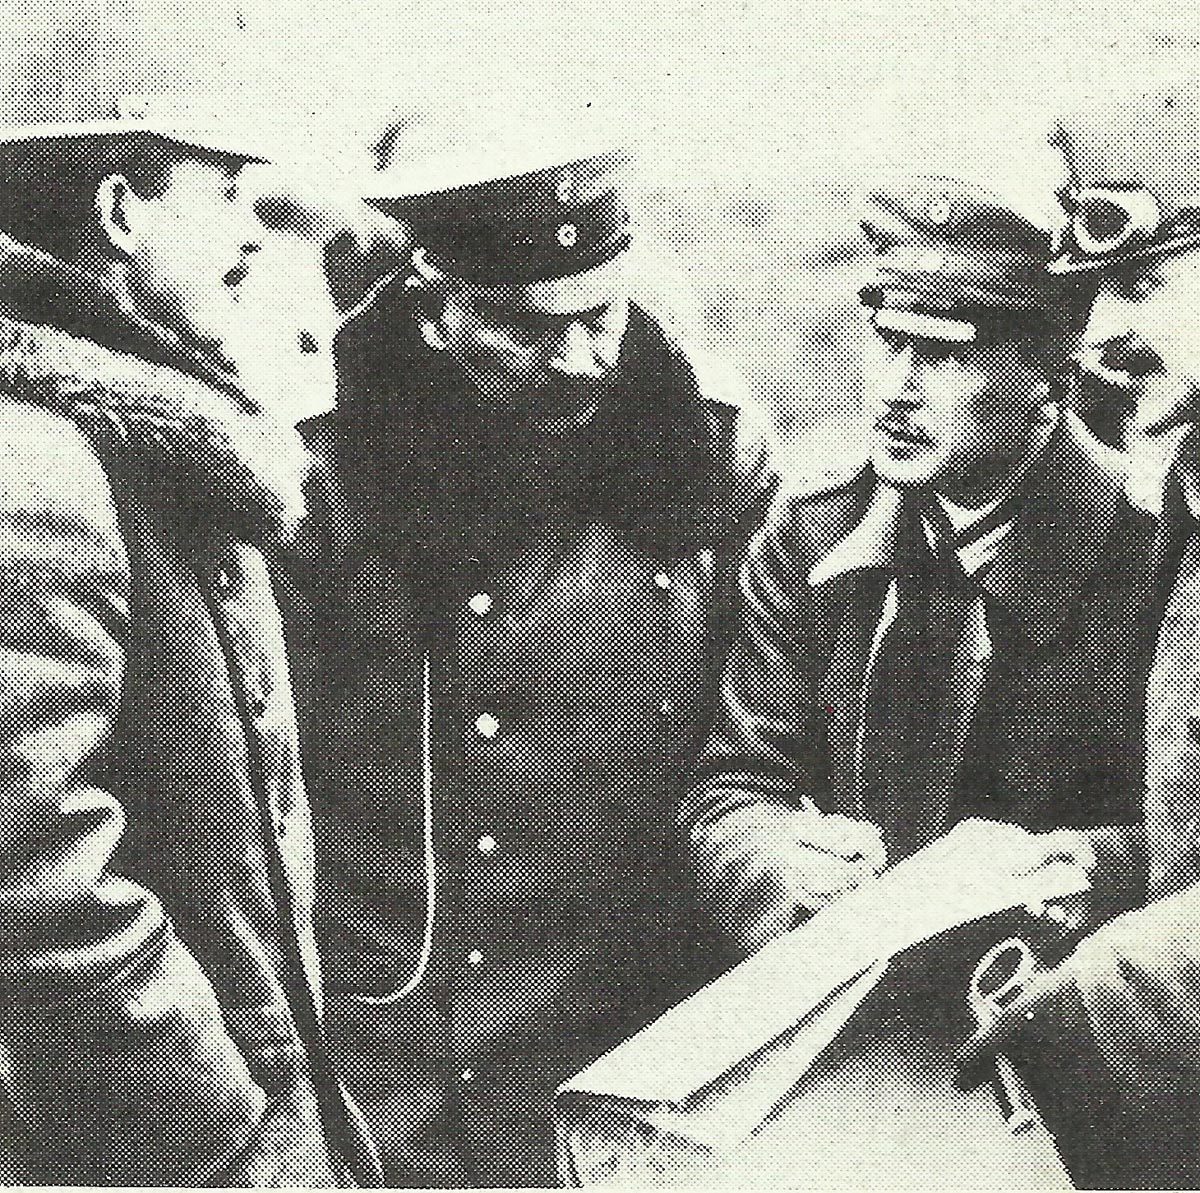
At Caporetto (now Kobarid), German and Austro-Hungarian troops launched a sudden, well-coordinated attack. They zeroed in on Tolmino and Plezzo—soft spots in the Italian defenses.
Using infiltration tactics and poison gas, the Central Powers tore through Italian lines. On day one, German stormtroopers and Austrian units surged deep into enemy territory. Panic spread fast, and Italian soldiers abandoned equipment as their line crumbled.
Today, the Kobarid Museum tells this story with artifacts and personal accounts. Both sides took heavy losses, but the Italians lost far more men and prisoners. The speed of the collapse stunned military leaders everywhere.
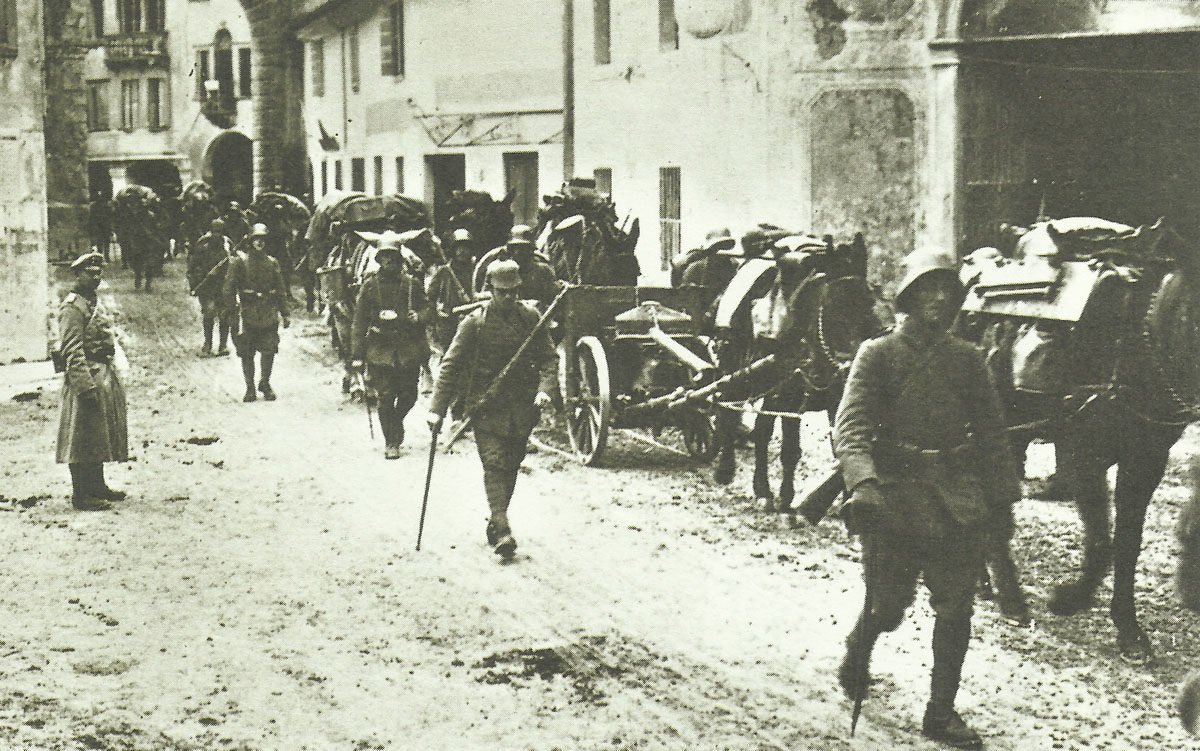
Causes and Consequences of the Italian Defeat
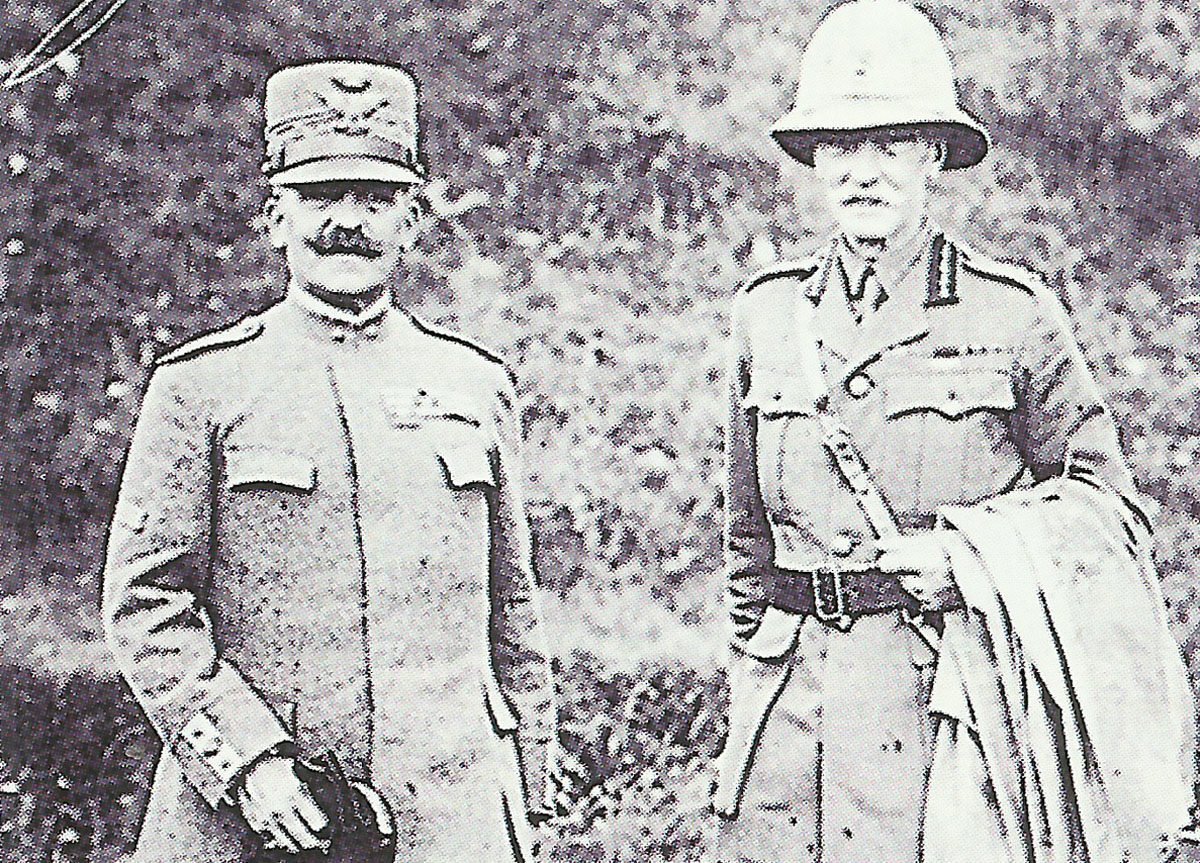
So, why did Italy fall apart at Caporetto? After eleven failed battles, their army was spent. Morale was rock-bottom, leadership was shaky, and gaps in the line left them wide open.
The Central Powers picked their moment—bad weather, surprise attack, the works. Italian generals were slow to react, making things worse. General Luigi Cadorna doubled down on discipline, punishing retreating troops harshly and crushing what little spirit was left.
- Over 11,000 Italians killed, nearly 300,000 taken prisoner.
- Mountains of weapons and territory lost.
- Italian command was overhauled, and the Allies finally started working together more closely.
- Italy faced a national crisis, but the disaster actually brought more international support.
Retreat to the River Piave and Aftermath
After Caporetto, Italian forces pulled back more than 100 kilometers to the River Piave. The retreat was a mess—units scattered, bridges and depots blown up to slow the enemy.
At the Piave, Italian and Allied troops dug in for a last stand. The Central Powers tried to push on, but Italian counterattacks, with help from French and British reinforcements, finally stopped them at the river.
By late 1917, the front stabilized on the Piave. The Italians regrouped under new leadership and started to get their act together. Caporetto was a wake-up call—discipline and teamwork with the Allies became the new priorities.
Warfare Tactics and Technologies
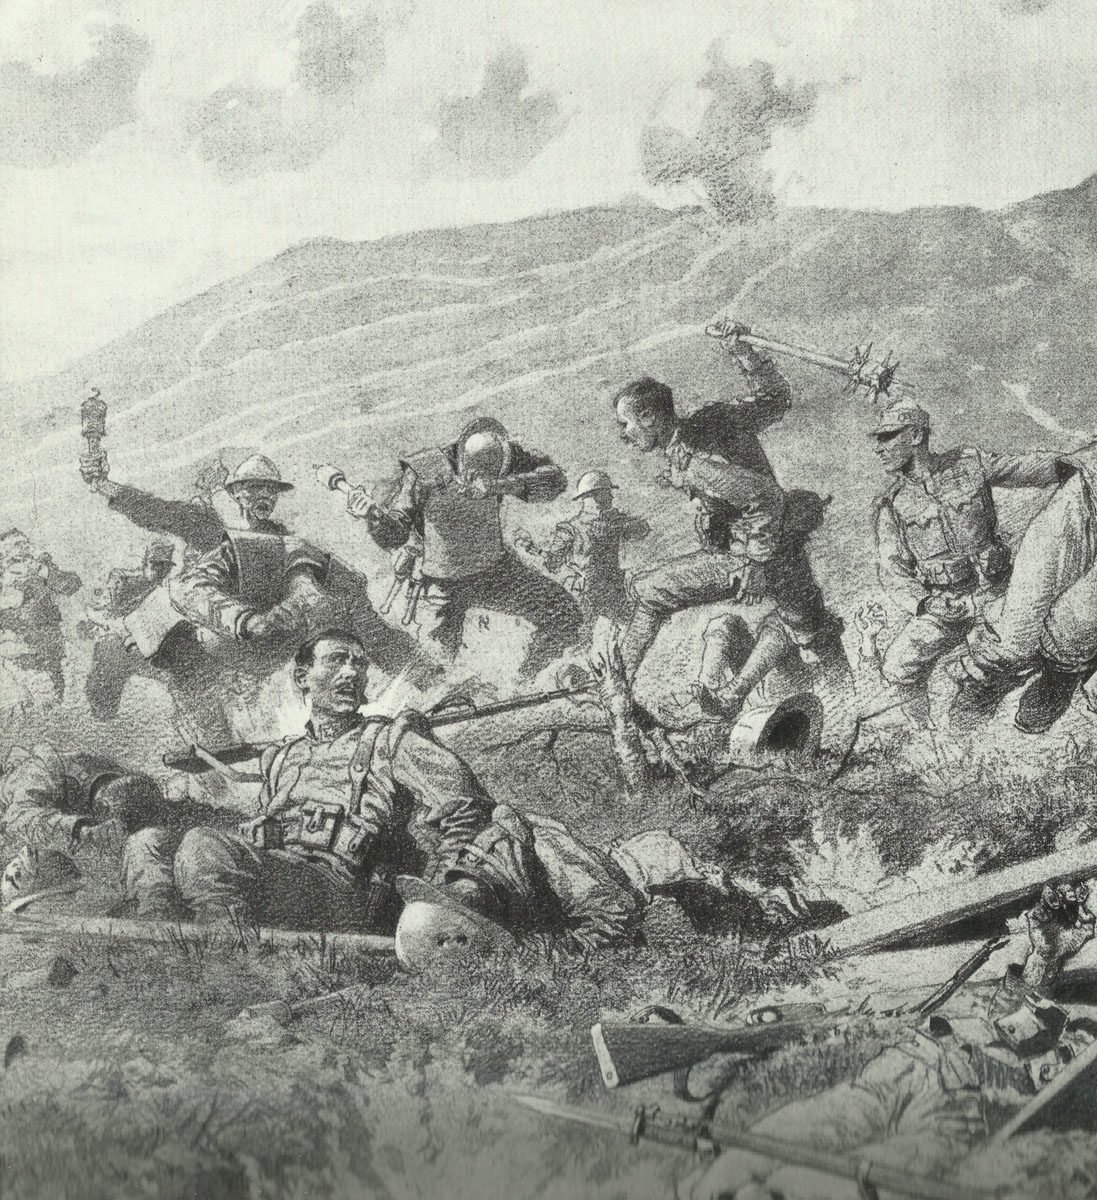
Italian and Austro-Hungarian troops fought in some of the harshest terrain imaginable along the Isonzo. They kept updating their gear and tactics, trying to deal with the mountains, the river, and the wild weather. Artillery duels, endless trench networks, and the threat of snow or rain were all part of daily life.
Trench and Fortification Systems
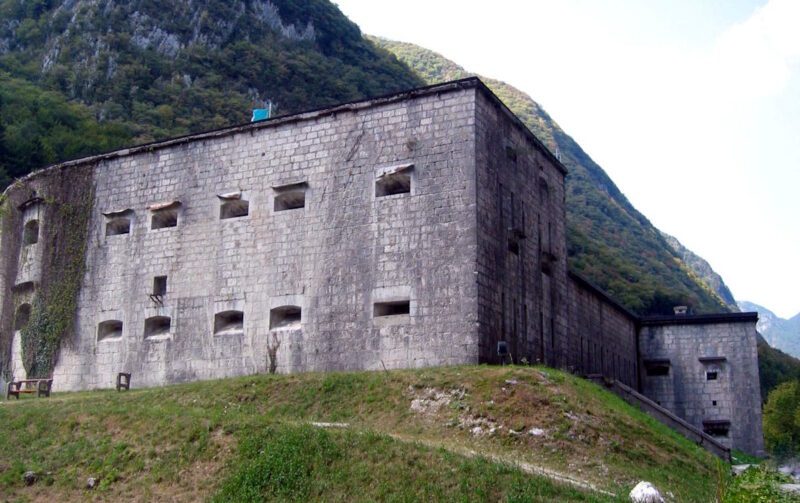
Both sides built sprawling trench systems, snaking for miles through rocky hills and mountain slopes. Positions were reinforced with barbed wire, sandbags, and dugouts deep underground.
Fortifications shielded troops from constant shelling. Machine guns and snipers made any attack risky. Tunnels were dug to move men and supplies without being seen.
Living in the trenches was miserable—mud, floods, barely any shelter. Disease spread fast, and attacks could come at any time. Still, these defenses made quick victories nearly impossible.
Artillery and Heavy Firepower
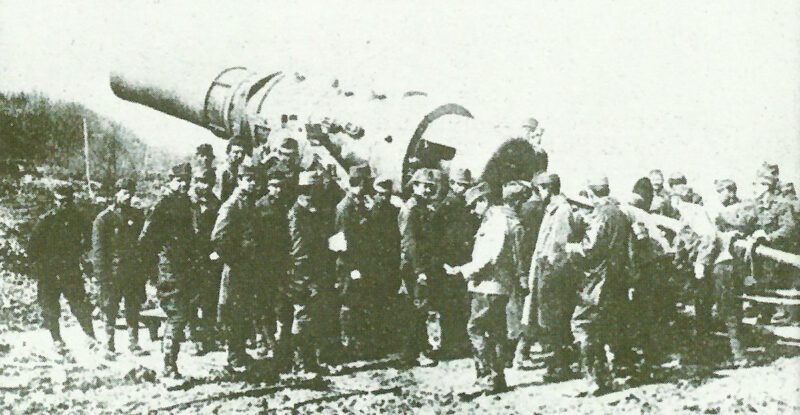
Artillery was king on the Isonzo. Both armies unleashed thousands of big guns before every attack, hoping to smash trenches and cut wire.
They brought in howitzers, field guns, and heavy mortars. During the Eleventh Battle, the Italians fired over 5,200 guns. Dragging all that firepower through the mountains was a logistical nightmare.
Shelling left the landscape cratered and bleak. The noise was relentless. Chemical weapons saw some use, but mountain winds made them unreliable.
Winter and Environmental Hardships
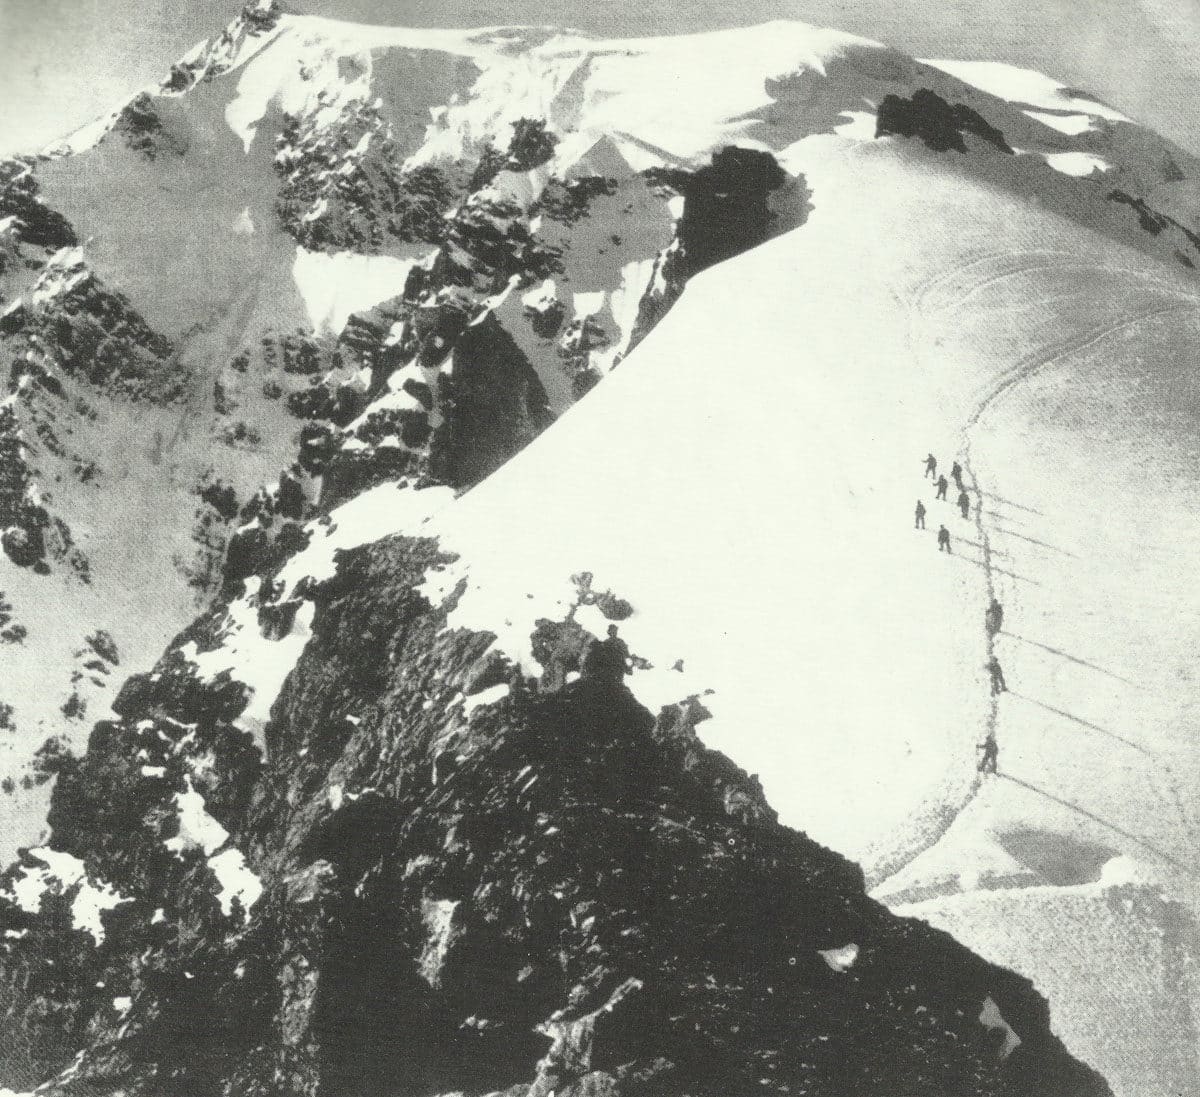
The Julian Alps cut right through the Isonzo front, so winters were brutal. Soldiers shivered through freezing nights, deep snow, and icy winds. People called it the “White War”—and for good reason.
Winter made everything harder. Frostbite, avalanches, sickness—sometimes the weather killed more men than the enemy. Movement slowed to a crawl, and even simple chores turned dangerous.
Equipment froze, food spoiled, and morale sank. The environment was just as deadly as the fighting itself.
Impact and Legacy of the Isonzo Battles
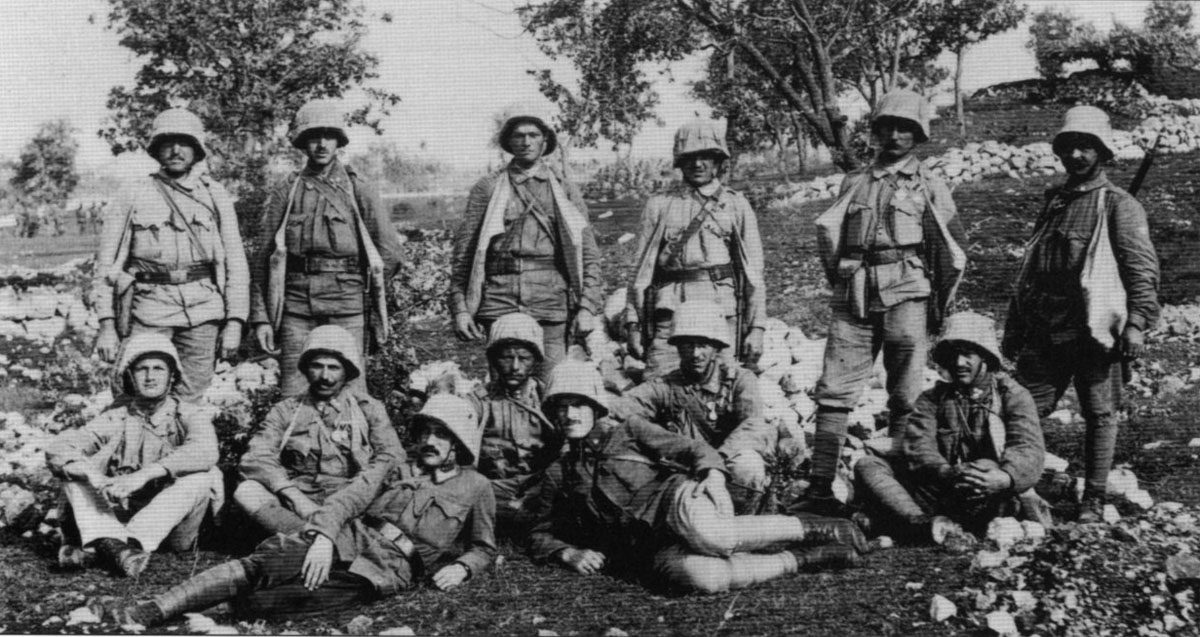
The 12 Battles of the Isonzo left scars on soldiers and civilians alike, reshaping life in Italy and Austria-Hungary. The decisions made and the toll taken would echo long after the guns fell silent.
Human Cost and Military Discipline
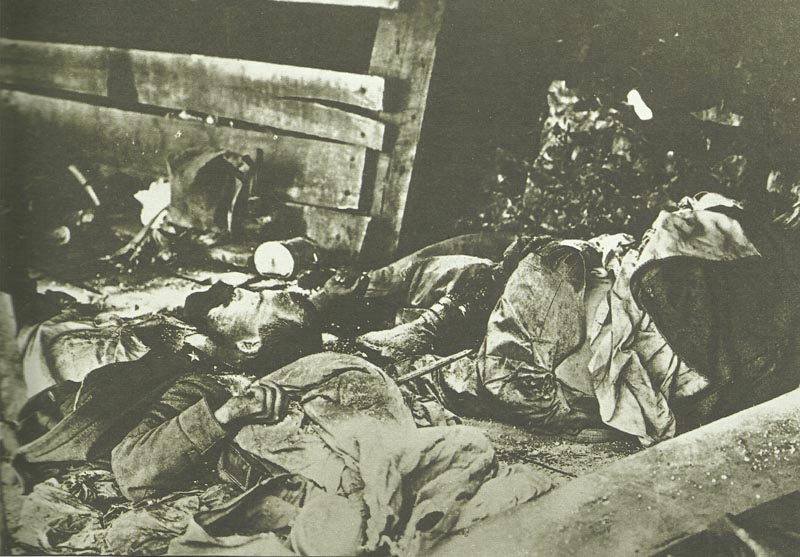
More than a million casualties—think about that. Soldiers fought through mud, snow, hunger, and disease. Both armies struggled with shortages of everything, from food to medical care.
Discipline was a huge issue, especially for the Italians under General Luigi Cadorna. He believed in iron-fisted order, handing out harsh punishments and even executions for desertion. Unsurprisingly, morale tanked.
Thousands ended up as prisoners or just vanished. The high losses with barely any land gained sparked outrage back home. Families grieved, and criticism of military leadership only grew louder.
Effects on Italian and Austro-Hungarian Societies
The battles hit families and communities hard. In Italy, frustration boiled over as news of failures and mounting losses spread. People started questioning their leaders, especially Cadorna, and demanded change.
Farms and factories lost workers to the front. Villages near the fighting were destroyed or emptied out. In Austria-Hungary, the shared suffering deepened rifts between different ethnic groups in the crumbling empire.
After the war, memories of the Isonzo front became part of local and national identity. Memorials and stories about the battles are still part of how people remember World War I, especially during big anniversaries.
Influence on Subsequent Military History
The Isonzo campaign was a harsh lesson in mountain warfare. Both sides learned the hard way that charging fortified positions in rough terrain leads to heavy losses and little reward.
Debates about command and discipline—especially Cadorna’s methods—would shape how armies thought about leadership. His approach left a mark on future military thinking, for better or worse.
Historians often point to the Isonzo Battles as classic attrition warfare: winning by wearing the other side down, not by grabbing land. The campaign still offers lessons on tactics, leadership, and the cost of war.
Broader Theaters and Consequences
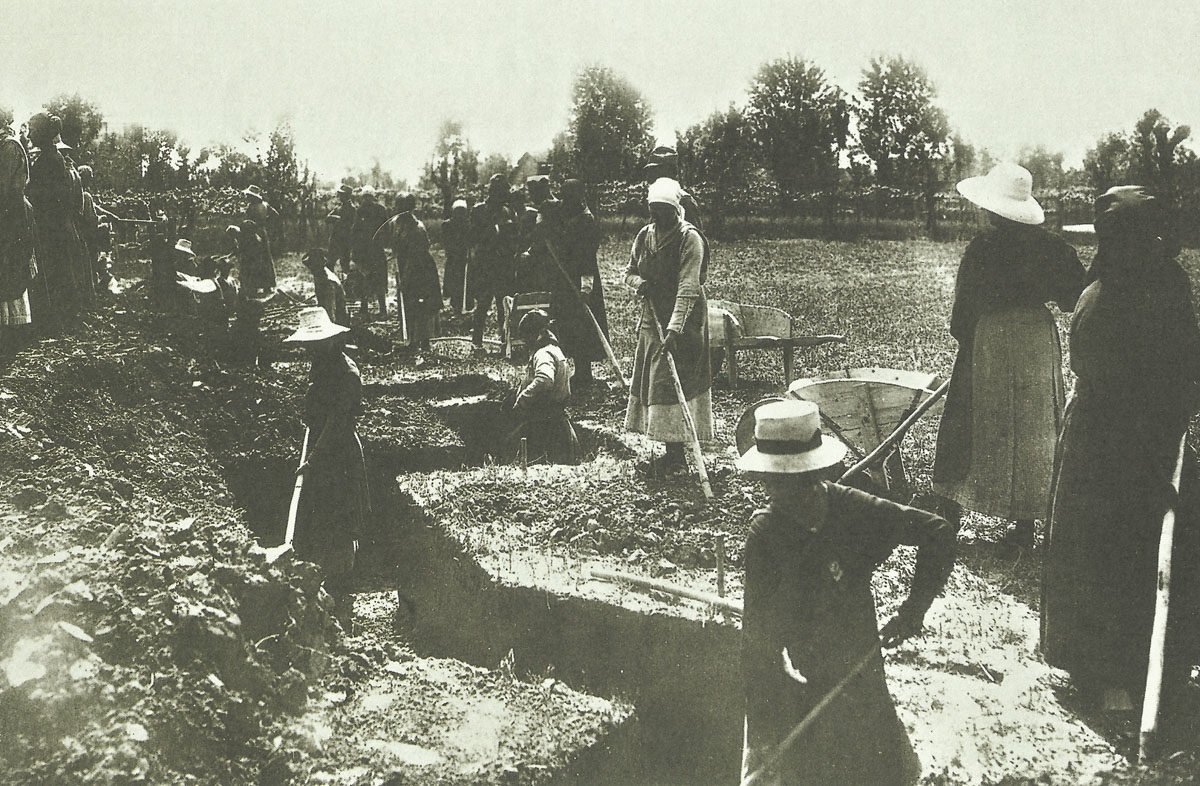
The 12 Isonzo Battles didn’t just matter locally—they had ripple effects across Europe. The fighting tied up armies, shaped other fronts, and left consequences that lasted for years.
Eastern and Balkan Fronts
Austria-Hungary and Italy both had to juggle several fronts during the Isonzo battles. The Austro-Hungarians were fighting Russia in the east and Serbia (then later Romania) in the Balkans.
Heavy losses on the Isonzo meant fewer troops and supplies for the east or south. Sometimes, Russia broke through weak spots, and Balkan campaigns dragged on longer. Italy, focused on the Isonzo, missed chances to help its allies down south, which later played into the rise of new states like Yugoslavia.
Aftermath in Central and Southern Europe
Constant fighting and huge losses near the Isonzo River drained both Austria-Hungary and Italy. Northern Italian cities like Venice felt the pinch—food shortages, bombings, daily life thrown into chaos.
Austria-Hungary was already shaky, with all its internal divisions. The Isonzo battles pushed the empire closer to breaking point. After the war, new countries sprang up, redrawing the map of Central and Southern Europe.
Italy’s gains were tiny compared to what it lost. Disillusionment with the government grew, fueling unrest for years. Border changes and political upheaval after World War I would shape relations in the region for decades to come.
Transition Towards the Second World War
The problems caused by the Isonzo campaign lingered after the war. Italy felt betrayed by its modest gains at the peace talks.
This “mutilated victory” feeling fueled anger and gave rise to new political movements, including Fascism.
Parts of the old Austria-Hungary, like areas that became the Kingdom of Yugoslavia, saw tensions between ethnic groups. Some of these disputes grew worse in the years that followed and played a role in conflicts during World War Two.
The local destruction in places like Venice also left scars that took decades to heal.
The unresolved issues over borders and national identity set the stage for future crises across Central and Southern Europe.
Commemoration and Visual Documentation
Many efforts have been made to remember the Battles of the Isonzo and present them through modern media. Museums, memorials, and online resources help people learn about the conflict and see its lasting impact.
Museums and Memorials
The Kobarid Museum in Slovenia is one of the most significant institutions dedicated to the Isonzo battles. It displays artifacts, photos, and interactive exhibits that help visitors understand daily life on the front lines, as well as the suffering of soldiers and civilians.
Several monuments stand along the former front, including the ossuary at Redipuglia in Italy and the memorial chapels near Tolmin and Gorizia.
These sites honor the memory of thousands who fought and died. Some memorials feature plaques, sculptures, and preserved trenches, offering a direct connection to the landscape of battle.
Many local institutions organize guided tours, educational programs, and temporary exhibits.
These activities encourage people of all ages to learn about the war and its consequences. Field trips are common for students in the region.
Modern Photographic and Digital Resources
Photographs taken during and after the battles offer a visual record of the destruction along the Isonzo River. Many photos are now available in digital archives for public use.
Modern stock photos, vectors, and videos depict battlefields and preserved sites, making them accessible for research or personal interest.
Some museums and tourist offices provide 360° panoramic images of historic sites.
These allow users to explore locations virtually and see what remains of trenches, fortifications, and memorials. Websites and educational platforms often include these resources, sometimes along with maps or documentary footage.
Numerous documentaries and video resources, such as short films and animated maps, present key battles and strategies.
These tools help viewers understand the geography and scale of the conflict. Social media accounts and YouTube channels also share modern photos and stories from battlefield tours, keeping the memory of the Isonzo battles alive for new generations.
Frequently Asked Questions
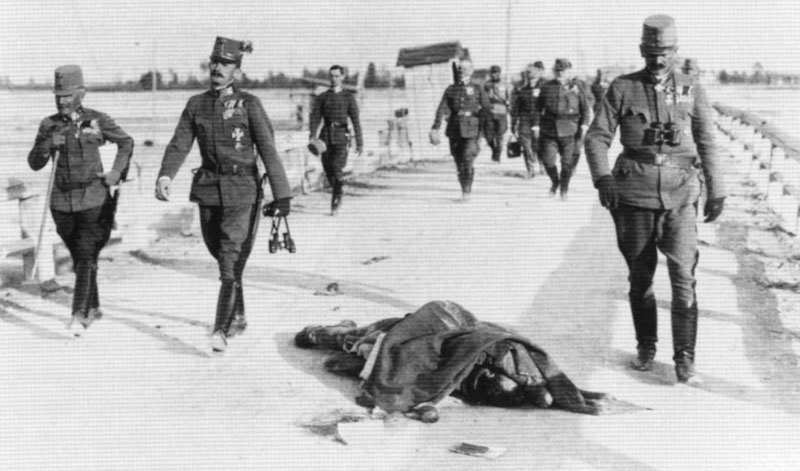
The Battles of the Isonzo saw repeated attacks and counterattacks between Italy and Austria-Hungary. The harsh mountain setting and changing weather made planning and fighting much harder for both armies.
What were the strategic objectives of the Italian and Austro-Hungarian forces during the Battles of Isonzo?
Italy aimed to capture territory from Austria-Hungary, focusing on the city of Trieste and the eastern side of the Isonzo River.
They hoped to break through the Austro-Hungarian defenses and advance deeper into enemy territory.
Austria-Hungary wanted to defend its territory and prevent Italian forces from making gains. Their goal was to hold strong defensive lines along the river and nearby mountains.
How did the geographical features of the Isonzo River area influence the tactics and outcomes of the battles?
The Isonzo River area was mountainous, with steep cliffs and narrow valleys. These features made large-scale attacks very difficult and forced both armies to fight uphill.
Moving supplies and troops was slow and dangerous. The terrain limited the size and speed of attacks, which led to long, drawn-out battles with high casualties on both sides.
What were the main consequences of the Battles of Isonzo for both the Italian and Austro-Hungarian armies?
Both armies suffered heavy losses, with over a million casualties combined.
The Italian army failed to make significant territorial gains despite repeated assaults.
The high cost weakened both sides and left them exhausted. The battles set the stage for later operations, especially the large Austro-Hungarian and German attack at Caporetto in late 1917.
Which battle of the Isonzo is considered the most pivotal, and why?
The Twelfth Battle of the Isonzo, known as the Battle of Caporetto, is seen as the most important.
During this battle, combined Austro-Hungarian and German forces broke through Italian lines and pushed the Italian army back for many miles.
This defeat forced Italy to retreat and reorganize its defenses, changing the direction of the war on the Italian Front.
What role did the terrain and weather conditions play in the outcome of the Battles of the Isonzo?
Mountain peaks and deep river valleys made attacks very risky and slow.
In many cases, bad weather brought rain, snow, and cold, which made movement and living conditions even worse for the soldiers.
Flooded rivers, landslides, and mud often delayed or stopped attacks. Soldiers faced not just enemy fire, but also hunger, disease, and exposure.
In what ways did the Battles of the Isonzo foreshadow the future of warfare in the 20th century?
The Isonzo battles really hammered home just how brutal and messy modern trench warfare could get. Dense defenses, endless artillery, and those relentless machine guns made open charges feel almost suicidal.
There was this obvious scramble for new tactics and better supply lines—plus, let’s not forget the grim debut of poison gas. All of that pointed toward changes that would shape combat for years after.
Fighting in such rough, unforgiving conditions left a mark on military planning that stuck around for decades.
References and literature
Der I. Weltkrieg – Eine Chronik (Ian Westwell)
Chronicle of the First World War, 2 Bände (Randal Gray)
Illustrierte Geschichte des Ersten Weltkriegs (Christian Zentner)
History of World War I (AJP Taylos, S.L. Mayer)
Der Erste Weltkrieg – Storia illustrata della Prima Guerra Mondiale (Hans Kaiser)
Der I. Weltkrieg – Eine Chronik (Ian Westwell)
Unser Jahrhundert im Bild (Bertelsmann Lesering)
The Illustrated Encyclopedia of Weapons of World War I (Chris Bishop)


