
The East African campaign during World War II is one of those victories that barely gets a mention, even though it mattered a lot. Most folks talk about Europe or North Africa, but the fight for Italian East Africa—June 1940 to November 1941—ended up wiping out Mussolini’s whole colonial empire in the region.
British and Commonwealth troops managed to pull off a win against what looked like impossible odds. There’s a lot more to this story than most people realize.
Early in 1941, British forces hit Italian positions from several directions, smashing an enemy nearly four times their size. They took 50,000 prisoners and liberated a staggering 360,000 square miles, all for a cost of just 500 casualties.
That kind of lopsided result really shows what good planning and teamwork can do. The British counter-offensive kicked off in January 1941, with troops moving in from Sudan and Kenya and then closing in on Italian strongholds across Eritrea, Ethiopia, and Italian Somaliland.

This campaign freed up troops for North Africa and secured supply lines, making a serious impact on the wider war. The battles, the leaders, and the reasons this victory isn’t as famous as it should be—it’s all worth digging into.
Background and Strategic Significance
Once Italy jumped into the war in June 1940, East Africa got a lot more dangerous for the British. The region’s geography put the Suez Canal and Middle Eastern oil fields within reach of Italian troops.
Geopolitical Context in East Africa
Italy had stitched together a big colonial patchwork called Italian East Africa (AOI), which included Ethiopia, Eritrea, and Italian Somaliland. This chunk of territory sat right between British-controlled Sudan, Kenya, and British Somaliland.
The Duke of Aosta commanded about 200,000 troops in the region. That’s a massive force compared to the scattered British garrisons nearby. It’s not hard to see why British commanders felt uneasy.
After France fell in June 1940, Italy no longer had to worry about French forces in North Africa. That let them focus squarely on British positions.
Italian Ambitions and Naval Power
The Italian Army (Regio Esercito) wanted to trap British forces in Egypt with a two-pronged attack. One force would strike from Libya toward Alexandria, while another moved up from Italian East Africa along the Nile.
But the Italian Navy knew they couldn’t supply both North Africa and the isolated AOI, especially with the British controlling the Mediterranean. That made big Italian offensives pretty unlikely from the start.
Mussolini figured Germany would knock Britain out of the war quickly. Because of that, he only ordered small-scale attacks instead of a major push in 1940.
Importance of the Suez Canal and Regional Threats
The Suez Canal was the British Empire’s main artery—linking Britain to India, Australia, and Middle Eastern oil. If Italy ever took the canal, the consequences would’ve been disastrous for the British.
If Italians attacked from Libya and East Africa at the same time, they could’ve reached the Nile Delta and threatened places like Palestine, Iraq, and the Persian Gulf. General Wavell didn’t have enough troops to defend against all those threats at once. He was also prepping for Operation Compass to push Italians back in North Africa.
Italian forces took British Somaliland in August 1940. It was an impressive win, but it didn’t really fit into any bigger plan.
Italian Advances and Early Campaign Actions
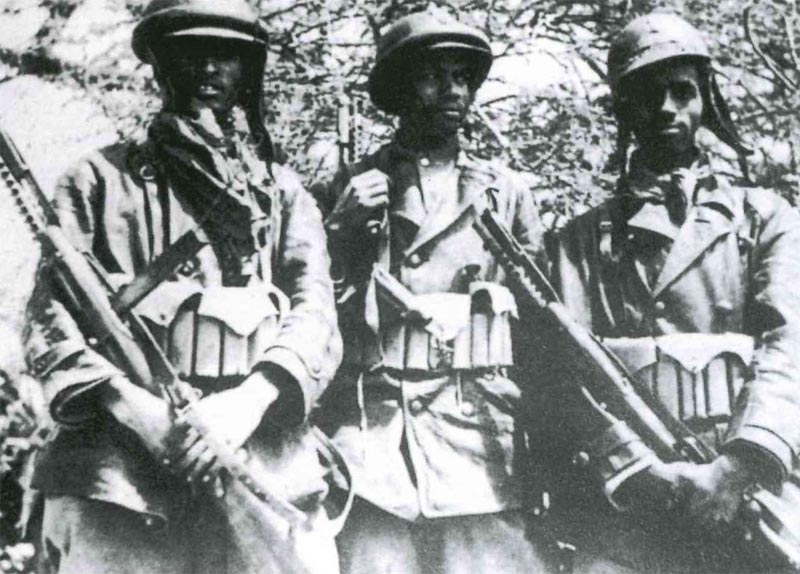
When Italy declared war in June 1940, their East African troops wasted no time. They launched attacks on several fronts, aiming at British positions in Sudan, Kenya, and British Somaliland.
Their biggest success came when they captured all of British Somaliland.
Italian Occupation of British Somaliland
In August 1940, Italian troops rolled into British Somaliland from their bases in Italian East Africa. The Italian commander sent in about 23 battalions, including the elite Bersaglieri and Alpini units, against a much smaller British force.
The British and Commonwealth defenders were seriously outnumbered. Italians broke through after weeks of fighting, and British commanders decided to evacuate rather than risk total disaster.
By the middle of August, Italians controlled all of British Somaliland. That gave them the southern approaches to the Red Sea. Honestly, this was the peak of Italian expansion in East Africa.
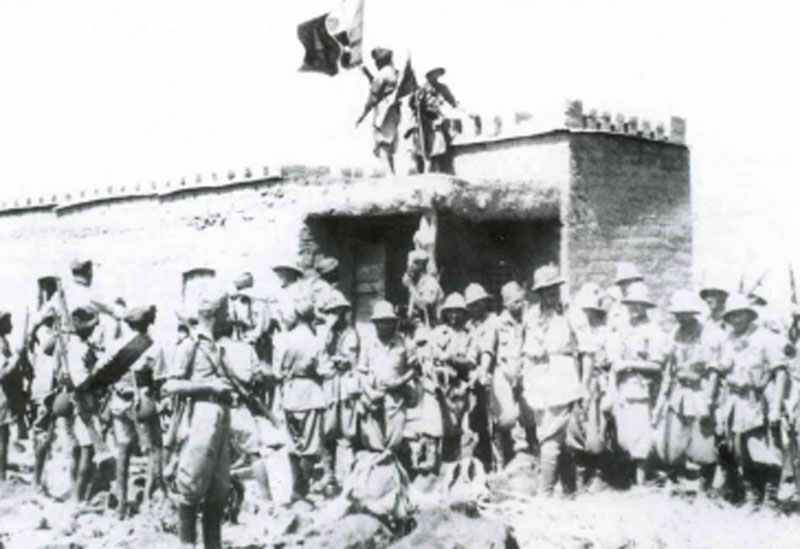
Initial Incursions into Sudan and Kenya
In July 1940, Italian forces crossed into Sudan and Kenya and grabbed several border settlements. They took Kassala in Sudan and the border posts of Gallabat and Metemma, giving themselves a solid foothold for future attacks.
In Kenya, Italians moved south from Italian Somaliland and seized the border town of Moyale. The British had to pull back from some exposed positions. Italians also raided other Kenyan border posts, testing the waters a bit.
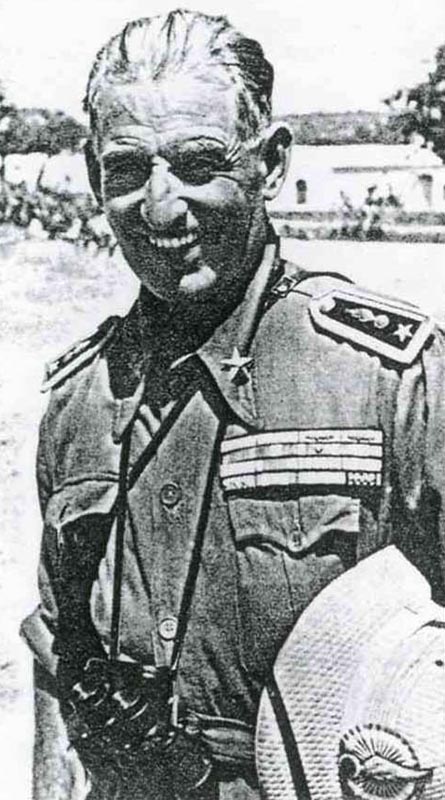
Still, these advances didn’t go very far. The Duke of Aosta, who acted as Italian Viceroy, told his troops to stop after those first gains. That pause was a big deal—it gave the British time to regroup and plan their counterattack.
Italian Defensive Strategy and Dispositions
After those first moves, Italian strategy switched to holding the borders of Italian East Africa. The Duke of Aosta realized his troops couldn’t expect reinforcements or supplies from Italy.
He spread his men out to defend key mountain passes and cities like Asmara in Eritrea and Mogadishu in Italian Somaliland. Elite units like the Granatieri di Savoia held the most important spots.
They relied on tough terrain to slow down the British. Italians built fortifications around big cities and likely invasion routes.
This defensive setup handed the initiative to the British. Italians still outnumbered the British, but they didn’t have air superiority or modern gear. By sitting tight, they let General Wavell and his team pick the time and place to strike.
British Counter-Offensive in 1941
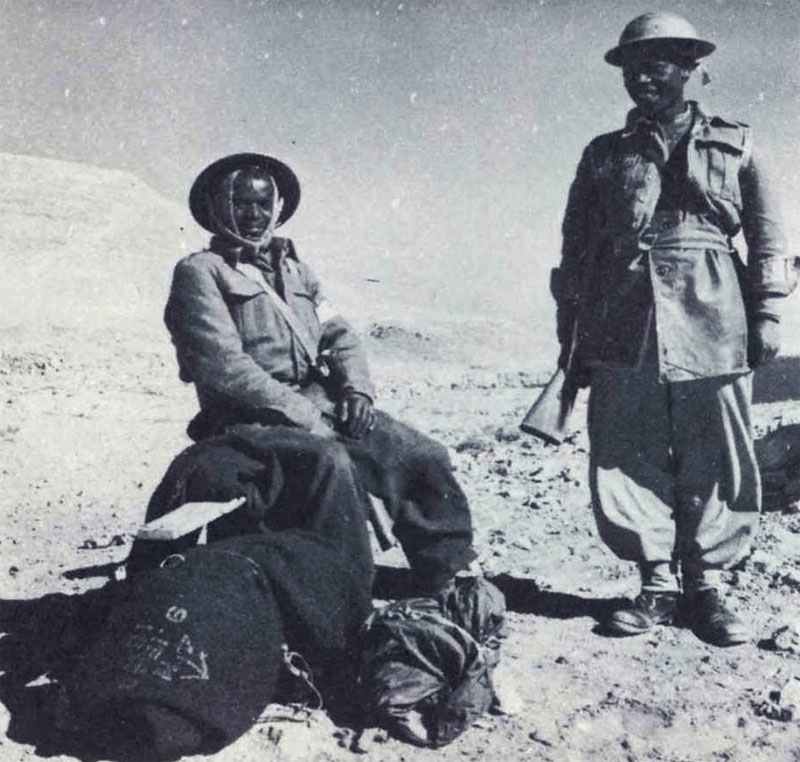
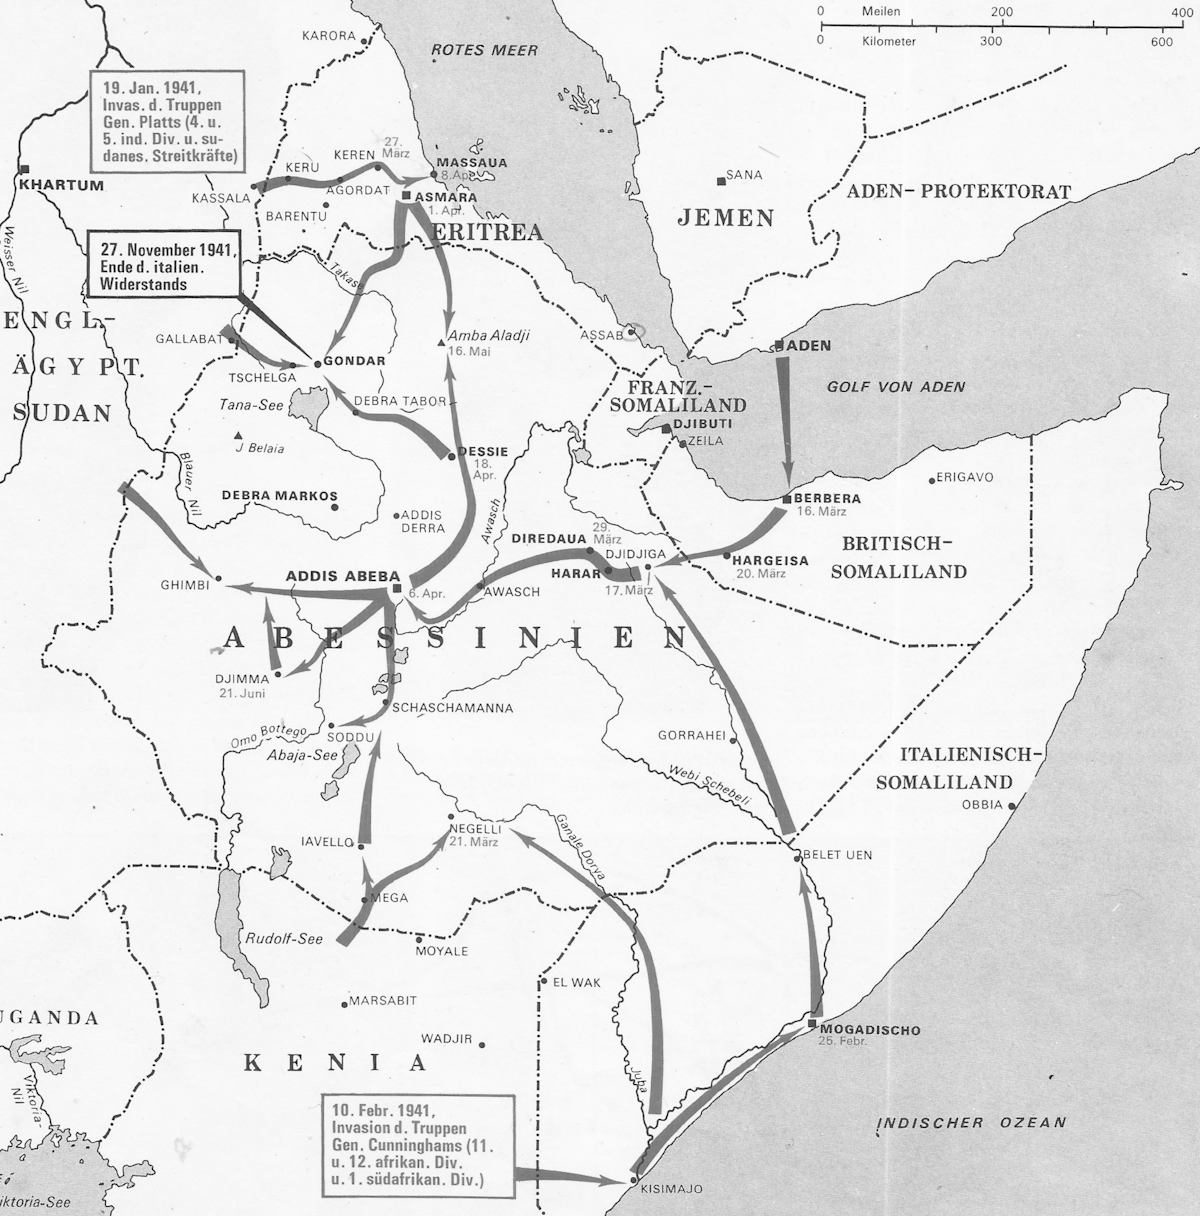
In January 1941, the British launched their big push against Italian East Africa from several directions. General Archibald Wavell sent forces from Sudan into Eritrea and northern Ethiopia, while another group moved from Kenya into Italian Somaliland and southern Ethiopia.
Planned Allied Pincer Movements
The British planned a three-way attack to break apart Italy’s East African empire. General William Platt led the northern push from Sudan into Eritrea, starting January 19, 1941.
Three weeks later, General Alan Cunningham brought his troops north from Kenya into Italian Somaliland and southern Ethiopia. This was Operation Canvas, and the idea was to move fast and grab the coast.
This pincer movement squeezed Italian forces between the advancing Allied armies. The northern group fought through Eritrea, while the southern force took Mogadishu on February 25, 1941.
A third piece involved Ethiopian resistance fighters and British irregulars already operating inside Ethiopia.
The British used Italy’s isolation against them. Even though the Italians had more troops, the British enjoyed better air support and supply lines.
Command Structure and Notable Leaders
General Sir Archibald Wavell ran the show as Commander-in-Chief Middle East. He split up the job between two main invasion forces, each with its own objectives.
General William Platt took charge of the northern attack from Sudan, handling some of the toughest fighting. General Alan Cunningham led the southern invasion from Kenya, moving quickly through Italian Somaliland.
Orde Wingate led the Gideon Force, which teamed up with Ethiopian resistance fighters behind enemy lines. They helped Emperor Haile Selassie get back to Ethiopia and ran guerrilla ops against Italian positions.
Key Involved Divisions and Units
The British pulled together troops from all over the empire for this campaign:
Northern Front (Platt’s Command)
- 4th Indian Division
- 5th Indian Division
- Sudan Defence Force
Southern Front (Cunningham’s Command)
- 11th African Division
- 12th African Division
- 1st South African Division
- King’s African Rifles
Irregular Forces
- Gideon Force (under Orde Wingate)
- Long Range Desert Group (reconnaissance)
- Somaliland Camel Corps
- Free French Forces from Equatorial Africa
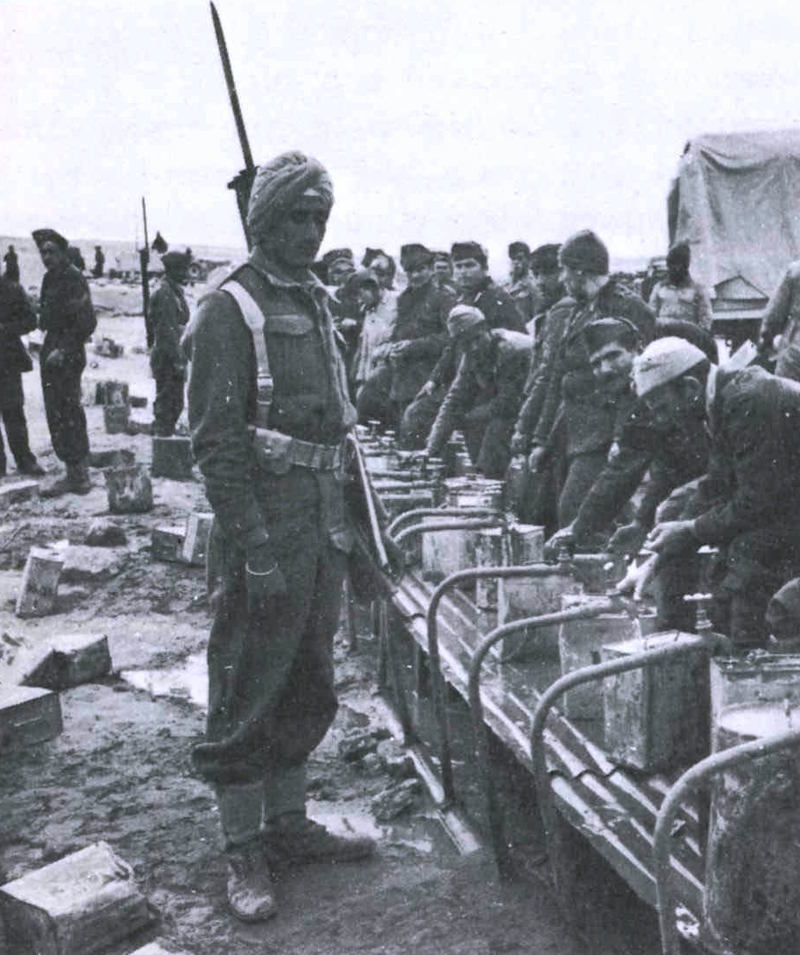
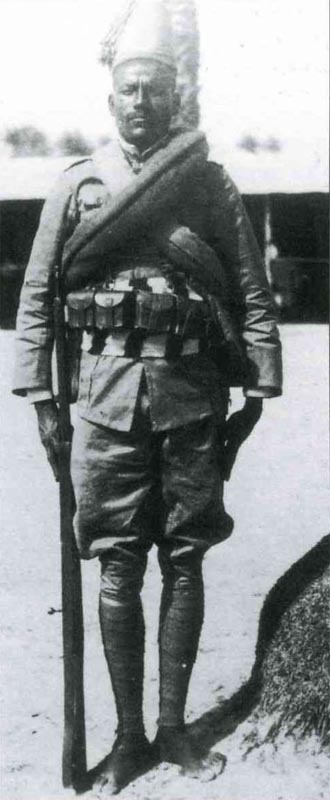
The Indian divisions showed up with experience in desert and mountain fighting. African divisions included soldiers from British colonies like Kenya, Uganda, and Nyasaland.
South African units brought mechanized support and artillery, including 4.5-inch howitzers that worked well in the mountains.
Major Operations and Battlefronts
The British offensive in 1941 played out across three different fronts, each with its own headaches and goals. British and Commonwealth troops attacked from Sudan into Eritrea, from Kenya into Italian Somaliland, and through central Ethiopia toward Addis Ababa.
Naval and air units backed up ground operations throughout the Horn of Africa.
Northern Front: Eritrea and the Battle of Keren
Lieutenant General William Platt led British troops from Sudan into Eritrea in January 1941. The main targets were the Italian stronghold at Asmara and the Red Sea port of Massawa.
The Battle of Keren, running from February 3 to March 27, 1941, was easily the toughest fight of the campaign. Italian troops dug in on a steep mountain pass with heavy artillery and machine guns, forcing British and Commonwealth soldiers to attack over and over.
Casualties tell the story—over 3,000 British losses before they finally broke through. Italians threw in their best, like the Savoia Grenadiers and elite Alpini mountain troops.
Once Keren fell, Asmara surrendered on April 1, 1941. British forces then took Massawa on April 8, wiping out the Italian naval threat in the Red Sea. Assab, farther south, fell in June 1941, which gave the British full control over Eritrea’s coast.
Southern Front: Invasions from Kenya into Italian Somaliland
Lieutenant General Alan Cunningham led his forces north from Kenya into Italian Somaliland in February 1941. His troops included South African divisions, East African units, and West African brigades.
British forces crossed the Juba River on February 14, 1941. They pushed Italian colonial troops back with surprising speed.
Cunningham’s men covered more than 1,000 miles in just 30 days. That pace caught everyone off guard.
Key victories included:
- Kismayu – Captured February 14, 1941
- Mogadishu – Captured February 25, 1941
- Jijiga – Captured March 17, 1941
- Harar – Captured March 26, 1941
- Dire Dawa – Captured March 29, 1941
The British relied on cruiser tanks and armored cars, which proved pretty effective. Italian L3/35 tankettes and M11/39 tanks didn’t put up much of a fight.
Most Italian colonial troops either surrendered or retreated deeper into Ethiopia. The front unraveled fast.
Central Front: Advances into Ethiopia and the Liberation of Addis Ababa
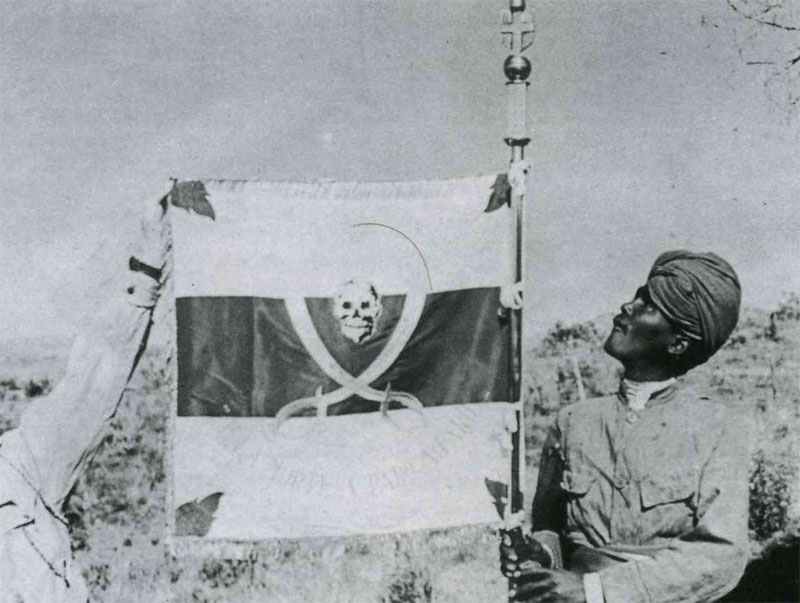
Ethiopian resistance fighters, called Arbegnoch, joined British forces moving into central Ethiopia. Emperor Haile Selassie came back from exile to lead his country’s liberation.
British columns closed in on Addis Ababa from several directions. Cunningham’s southern force got there first.
The Italians chose to evacuate Addis Ababa rather than defend it. British troops entered the city on April 6, 1941.
Haile Selassie returned to his capital on May 5, 1941—exactly five years after being forced out. That must’ve felt surreal.
Italian forces pulled back to mountain strongholds in northern Ethiopia. The Duke of Aosta made his last stand at Amba Alagi and surrendered on May 19, 1941, with 7,000 men.
Smaller Italian garrisons held out at Gondar until November 27, 1941. That marked the official end of the campaign.
Naval and Air Operations in the Horn of Africa
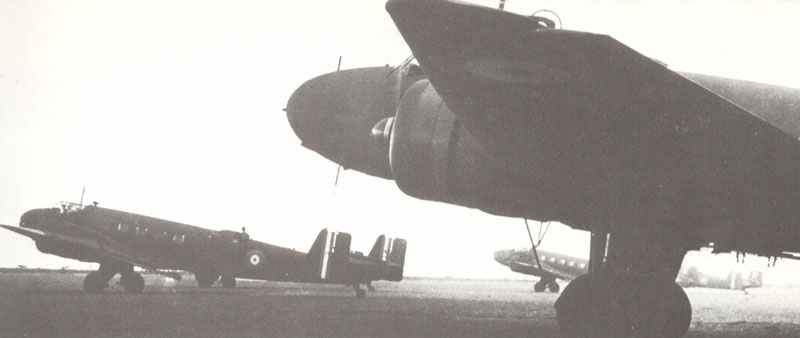
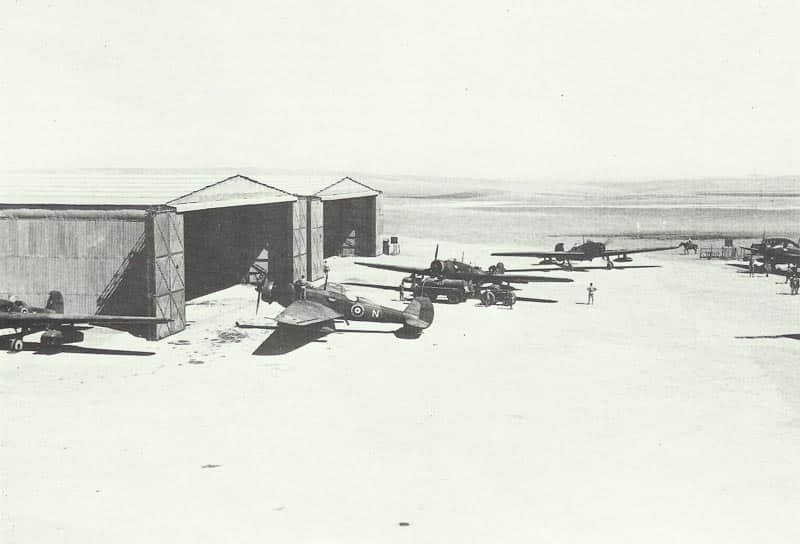
The Comando Aeronautica Africa Orientale Italiana started out with 323 aircraft. But they struggled with fuel and parts shortages right away.
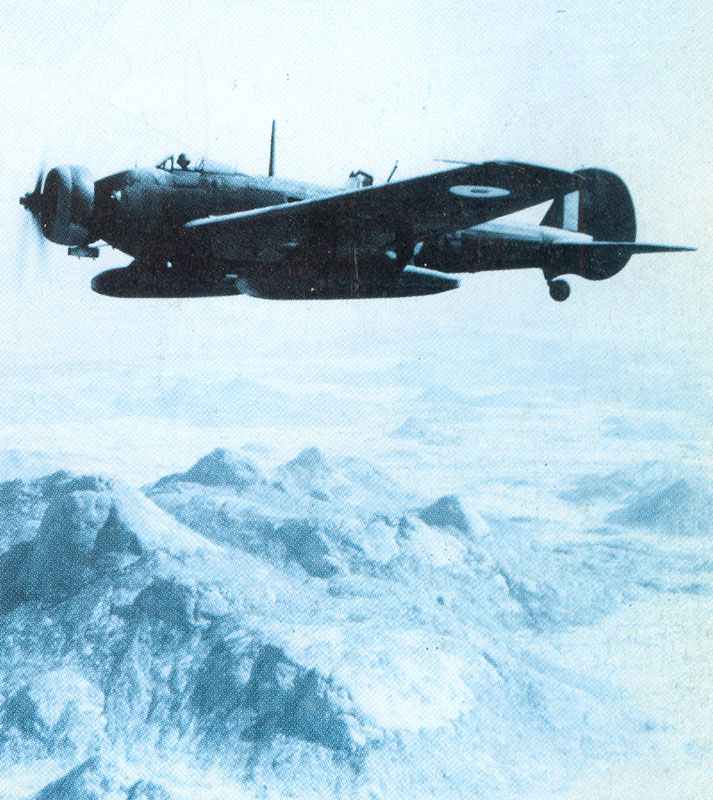
Italian bombers launched early raids on British positions in Kenya and Sudan. British air superiority grew as the Italians lost more planes.
The RAF destroyed Italian aircraft both on the ground and in the air. By March 1941, the Italians had fewer than 80 operational planes left.
Naval action focused on the Red Sea. Italian destroyers and submarines threatened British shipping at first.
British naval forces blockaded Massawa and went after Italian vessels. The fall of Massawa wiped out Italy’s Red Sea fleet.
British forces destroyed or captured seven Italian destroyers and a bunch of support ships. That win secured Allied supply routes through the Red Sea to Egypt and beyond.
Collapse of Italian Resistance and Final Surrenders
By spring 1941, Italian forces across East Africa faced relentless British offensives and severe shortages. The Duke of Aosta’s defenses crumbled as Allied troops captured strongholds and Ethiopian resistance fighters stepped up their attacks.
Siege and Fall of Amba Alagi
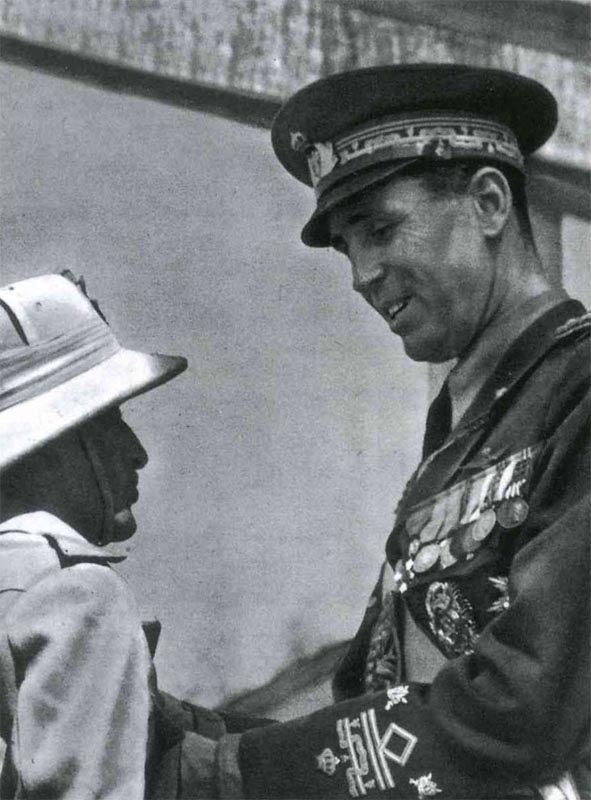
The mountain fortress of Amba Alagi became a key battleground in May 1941. The Duke of Aosta gathered his remaining troops there after retreating from Addis Ababa.
British and Commonwealth troops surrounded the fortress and cut off supplies. The Italians held the high ground, making attacks costly, but they didn’t have enough food, water, or ammunition to last.
On May 16, 1941, the Duke of Aosta surrendered after a three-week siege. He negotiated terms so his men could keep their military honors, even in defeat.
About 7,000 Italian and colonial troops left the field after this surrender. That was a big blow to the remaining Italian defense.
Surrender of the Duke of Aosta and Remaining Italian Forces
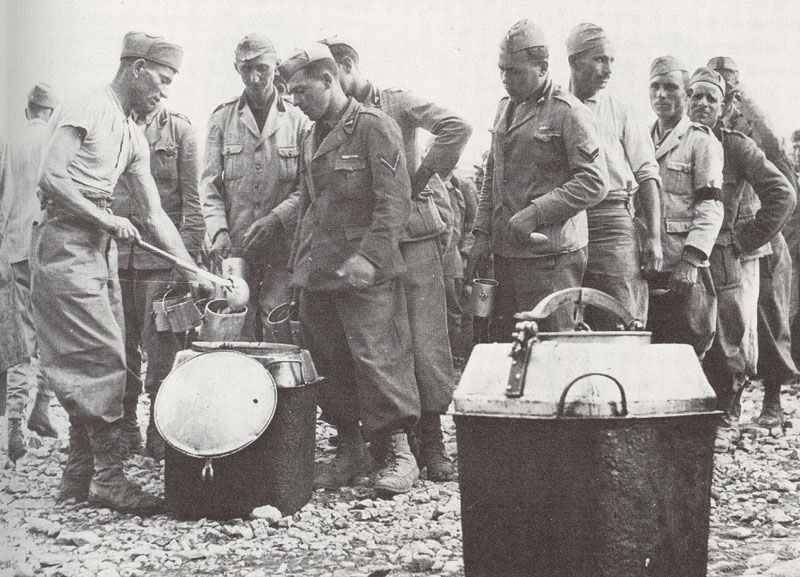
The Duke of Aosta’s surrender didn’t end all Italian resistance. General Pietro Gazzera held out in the southwest near Jimma, while General Guglielmo Nasi commanded forces around Gondar in the north.
British forces captured Gazzera’s positions in late June 1941, taking another 7,000 prisoners. Nasi’s garrison at Gondar proved more stubborn.
The mountain fortress at Gondar stayed in Italian hands through summer and fall 1941. On November 27, 1941, Gondar finally fell after a coordinated British and Ethiopian assault.
This marked the end of organized Italian resistance in East Africa. Around 230,000 Italian and colonial troops ended up as prisoners during the campaign.
Some small guerrilla groups kept fighting until Italy’s armistice with the Allies in September 1943. They hung on, but the big battles were over.
Role of Ethiopian Patriots and the Return of Haile Selassie
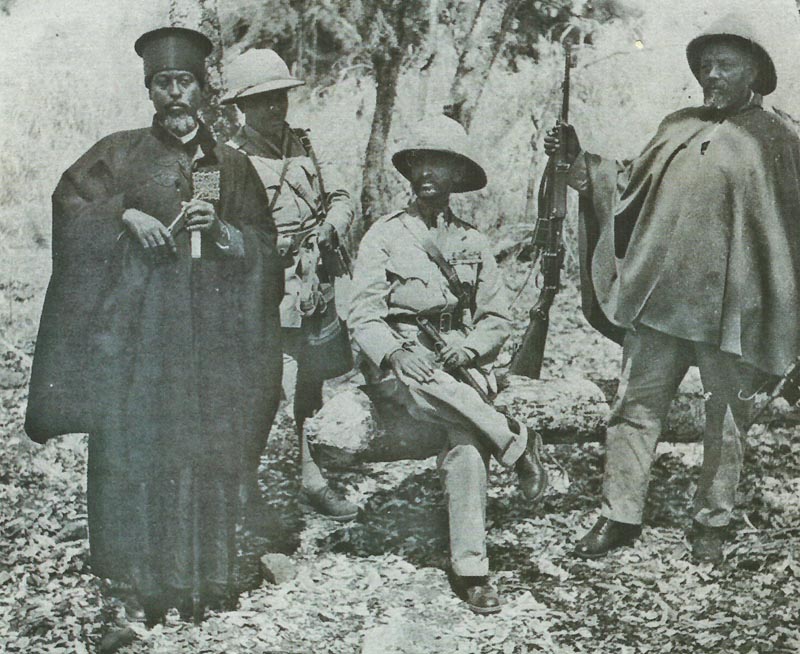
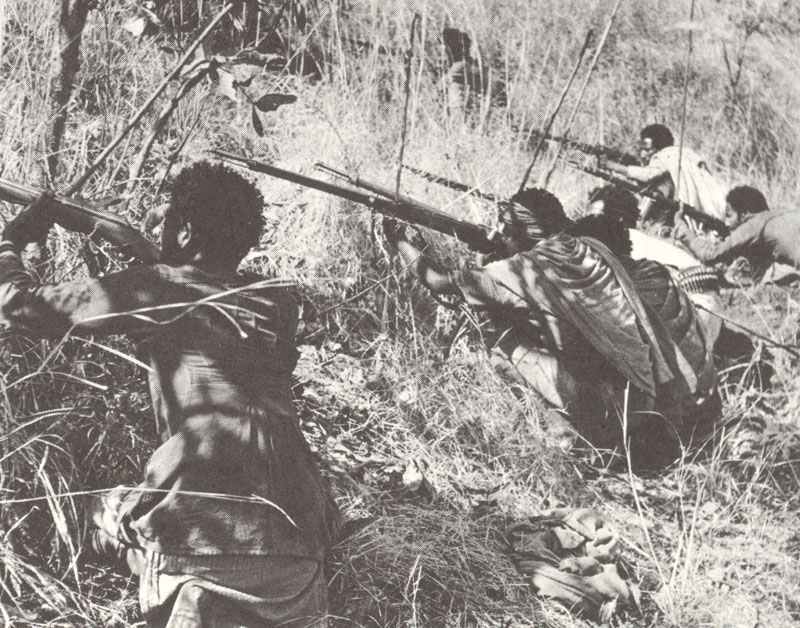
Ethiopian resistance fighters, the Arbegnoch or Patriots, played a crucial part in defeating the Italians. They knew the land and ran raids that disrupted Italian supply lines and communications.
Haile Selassie returned to Ethiopia in January 1941 with British support. Major Orde Wingate put together Gideon Force, a small group mixing British officers and Ethiopian Patriots.
This force harassed Italian positions and encouraged uprisings. On May 5, 1941, Haile Selassie entered Addis Ababa, five years to the day after losing it.
The Patriots’ guerrilla tactics forced the Italians to spread themselves thin. Local resistance, working with British offensives, eventually overwhelmed Italian defenses in East Africa.
Aftermath and Impact on the Wider War
The Allied victory in East Africa broke up Italian East Africa and freed thousands of experienced troops for North Africa. The campaign secured vital supply routes through the Red Sea and proved that Italian forces could be beaten—maybe even more easily than people thought.
British Administration and Territorial Changes
British military administrations took over Eritrea, Italian Somaliland, and Ethiopia after Italy surrendered. Emperor Haile Selassie returned to Addis Ababa in May 1941, but British forces kept an eye on his government.
British Somaliland, which Italy had grabbed back in August 1940, returned to British control. Mussolini’s colonial empire in the region was finished.
Britain ran these territories through military governments while figuring out their post-war fate. The Red Sea route to the Suez Canal was now safe, and supplies flowed to Egypt without Italian interference.
Kenya and Sudan, which had faced Italian threats in 1940, were now safe. The Axis presence in East Africa was gone for good.
Influence on the North African Campaign
The victory in East Africa freed up about 77,000 experienced Commonwealth troops for the Desert War. South African, Indian, and British units that fought in Ethiopia and Eritrea moved to Egypt in mid-1941.
These troops would soon face Erwin Rommel’s Afrika Korps in Libya. Churchill saw the value in transferring these battle-tested soldiers.
The Eighth Army, formed in September 1941, included several divisions from the East African campaign. Their experience made a difference.
The campaign taught British commanders a lot about coordinating infantry, armor, and air support across tough terrain. The SAS, though created later, built on reconnaissance and raiding tactics developed in East Africa.
Enduring Legacies in East Africa
The campaign left deep marks on East African territories. Thousands of African soldiers from Kenya, Uganda, Tanganyika, and other colonies gained military experience and saw more of the world than they ever expected.
Many of these veterans later played roles in independence movements. Infrastructure built during the campaign—roads, airfields, hospitals, supply depots—stuck around and served civilian life after the war.
Ethiopia regained its independence, though British influence lingered until 1944. Eritrea and Italian Somaliland faced uncertain futures under British administration until the UN decided their status in the late 1940s.
The campaign showed that colonial territories could mobilize effectively. It also proved that Italian military power in Africa wasn’t nearly as strong as people feared in 1940.
Frequently Asked Questions
The British offensive in East Africa during 1941 was a complex operation across multiple territories. Forces from several nations came together to kick out the Italians, and it ended up being the first major Allied victory of World War II.
What were the strategic objectives of the British offensive in East Africa during WWII?
The British wanted to remove the Italian military threat to their East African colonies and secure crucial supply routes. Italian East Africa threatened British positions in Kenya, Sudan, and Egypt, and put maritime traffic through the Red Sea and Suez Canal at risk.
Controlling the Suez Canal was essential for British supply lines to the Middle East and Asia. The Italians could have seriously disrupted these routes from Eritrea, Ethiopia, and Italian Somaliland.
The British also aimed to free up troops for other war fronts. Once they’d beaten the Italians in East Africa, they could send Commonwealth units to North Africa for the Western Desert campaign.
Restoring Emperor Haile Selassie to the Ethiopian throne was another goal. That helped legitimize the campaign and encouraged local resistance against Italian rule.
How did the East African Campaign impact the overall outcome of WWII?
The East African campaign gave the Allies their first real strategic win of the war. It was a much-needed morale boost, especially with setbacks elsewhere.
The defeat knocked about 250,000 Italian troops out of the war. Very few Italians managed to escape East Africa to fight again, which reduced Axis strength overall.
British control of East Africa secured the Red Sea and made supply routes to Egypt much safer. Ships could now travel those waters without worrying about Italian attacks.
The campaign also freed up experienced Commonwealth troops for North Africa. These soldiers would go on to fight in the Western Desert campaign against German and Italian forces in Libya and Egypt.
What were the key battles and events of the East African Campaign in 1941?
The campaign kicked off on June 13, 1940, with an Italian air raid on the RAF base at Wajir in Kenya. Air battles continued through the summer and fall as both sides fought for control of the skies.
British and Commonwealth forces launched their main offensive in January 1941 from two directions. Northern forces advanced from Sudan into Eritrea and western Ethiopia, while southern forces moved from Kenya into southern Ethiopia and Italian Somaliland.
The northern front saw some of the toughest fighting. Italian defenders put up a strong fight against British and Indian troops coming from Sudan.
The Battle of Gondar in November 1941 marked the end of organized Italian resistance. After that, only small groups kept up guerrilla operations until September 1943.
Which forces were involved in the East African Campaign and what was their order of battle?
The British Middle East Command led the Allied side with about 115,000 troops. That included 77,000 from various British Empire nations and 30,000 from other Allies.
British Empire forces came from the UK, South Africa, India, Kenya, Sudan, Nigeria, Gold Coast, Somaliland, Northern and Southern Rhodesia, Uganda, Nyasaland, Australia, and New Zealand. Ethiopian Arbegnoch resistance fighters joined in, along with troops from Belgian Congo and Free France.
Italian forces had around 250,000 men under the Duke of Aosta. That included about 50,000 Italian soldiers and 200,000 colonial troops from the Regio Corpo Truppe Coloniali.
The Italians split their forces into four sectors: Northern (Eritrea), Southern (western Ethiopia), Eastern (central Ethiopia), and the Giuba Sector (southern Italian Somaliland).
How did the geography of East Africa influence military operations during WWII?
East Africa’s huge distances and rough terrain threw a wrench into military logistics. Mountains, deserts, and tropical regions all demanded their own tactics and gear—nothing simple about that.
The Ethiopian highlands, in particular, made life tough for advancing armies. Defenders really had the upper hand, and attackers struggled to use armored vehicles on those rocky slopes.
Roads were few and far between, which left supply lines exposed and slowed down troop movements. Both sides kept scrambling to get enough fuel, ammo, and food across these wide-open spaces.
The climate didn’t do anyone any favors either. Tropical diseases and wild temperature swings hit troops hard; British forces alone saw 74,550 wounded or sick during the campaign.
What role did East African colonies play in the campaign against the Axis powers?
East African colonies gave the Allies crucial military bases. Kenya and Sudan, in particular, worked as main staging points for attacks into Italian-held areas.
Troops from all over British Africa joined the fight. Soldiers came from Kenya, Sudan, Nigeria, Gold Coast, Uganda, Northern Rhodesia, Southern Rhodesia, and Nyasaland.
The colonies kept the war effort going by providing resources and infrastructure. Ports and airfields in British territories kept supplies moving and supported the military push.
Local knowledge made a real difference in planning and carrying out operations. African soldiers and scouts just knew the land and the weather in ways European troops didn’t, which often tipped the odds for the Allies.
References and literature
Chronology of World War II (Christopher Argyle)
Der Grosse Atlas zum II. Weltkrieg (Peter Young)
A World at Arms – A Global History of World War II (Gerhard L. Weinberg)
The Italian Army 1940-45 (2): Africa 1940-43 (Philip S. Jowett, Stephen Andrew)
Montgomery’s Desert Army (John Wilkinson-Latham)