
On March 24, 1941, German General Erwin Rommel launched his first offensive in North Africa. What looked like an imminent Axis defeat flipped into a stunning reversal as Rommel’s forces recaptured most of Cyrenaica in just a few weeks.
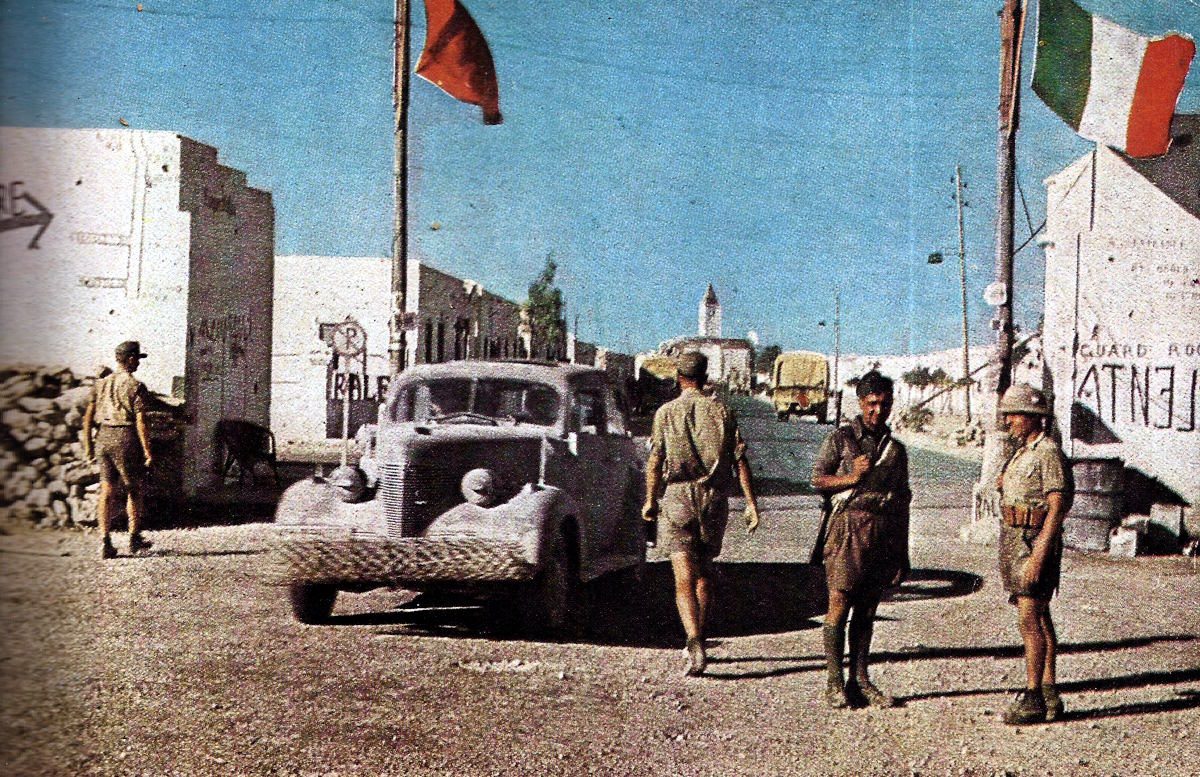
The operation kicked off on March 24, 1941, when Rommel, ignoring orders to stay defensive, attacked British positions at El Agheila. His aggressive push sent British forces reeling, and people started calling him the “desert fox.”
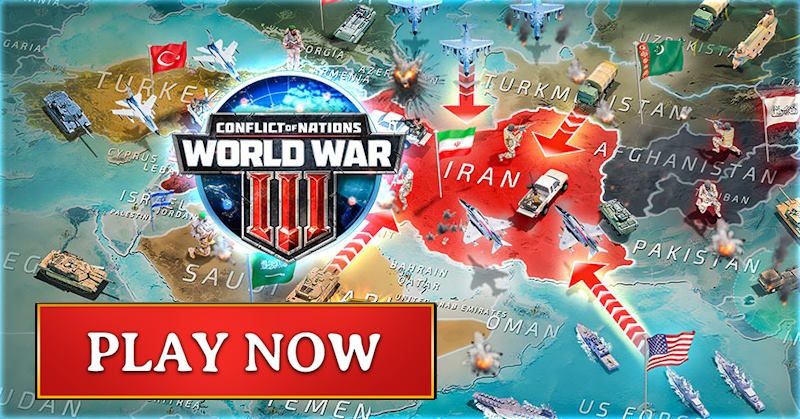
Rommel’s first offensive in North Africa lasted from late March to mid-April 1941. His German Afrika Korps recaptured Benghazi, surrounded Tobruk, and reached the Egyptian frontier, undoing months of Italian losses in a matter of weeks.
The campaign showed just how effective mobile armored warfare could be in the desert. British forces got caught off guard while they were busy redeploying to Greece.

Rommel pulled off these gains with limited forces and, honestly, against direct instructions from the German High Command to wait for more reinforcements. His initiative sparked a back-and-forth desert struggle that would last for two years.
Rommel’s tactics, the siege of Tobruk, and the ripple effects of his rapid advance all highlight how one commander’s boldness could change the course of a campaign. If you want to understand the North African campaign, you have to look at this first offensive and the kind of desert combat that followed.
Strategic Background and Axis Objectives
When the Italian army collapsed in early 1941, Germany stepped in to prevent a total Axis defeat in North Africa. British forces had already pushed deep into Libya, threatening what was left of Italy’s African territory, and at the same time, they were draining resources to support Greece.
Italian Defeat and Operation Compass
The Italian Tenth Army under Marshal Rodolfo Graziani rolled into Egypt in September 1940 but stopped after taking Sidi Barrani. General Archibald Wavell answered back in December 1940 with Operation Compass, which started as a limited raid by the Western Desert Force.
That “raid” snowballed into a huge victory. By February 1941, British and Commonwealth troops had pushed over 500 miles across Cyrenaica.
Bardia fell on January 5, Tobruk on January 22, and Benghazi on February 7. The Italians lost 130,000 prisoners, 380 tanks, and 845 guns.
Graziani resigned and General Italo Gariboldi took over. The Italians now tried to defend their last slice of North Africa—Tripolitania—while British forces reached El Agheila on February 9.
German Intervention and Unternehmen Sonnenblume
Hitler decided to send German troops to stabilize things and keep Italy from losing everything. Unternehmen Sonnenblume (Operation Sunflower) started in February 1941, with German forces landing in Tripoli.
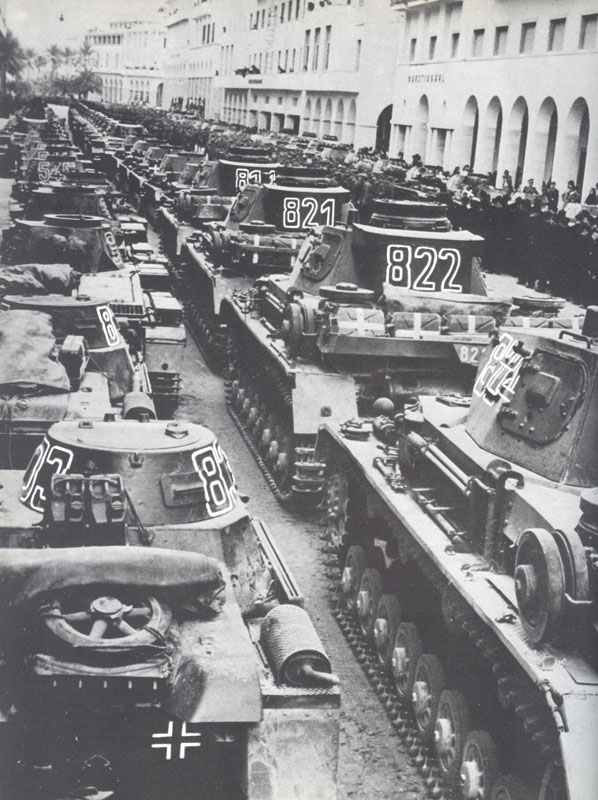
The first German units—mainly from the 5th Light Division and 15th Panzer Division—came under General Erwin Rommel’s command. The 5th Light Division arrived on February 14, 1941, but Rommel was told to stay defensive and wait until May before attacking.
German troops were supposed to block any further British push toward Tripoli. Hitler considered the North African front secondary and sent only limited resources.
Allied Withdrawal to Greece
Wavell faced a tough call in early 1941. The British government ordered him to send troops to Greece to counter an expected German invasion in April.
The 6th Australian Division and the 7th Armoured Division pulled out of Cyrenaica to refit and get ready for Greece. One armored brigade from the 2nd Armoured Division, not exactly experienced, also went to Greece.
The forces left in Libya were thin—just parts of the 9th Australian Division and a battered armored brigade. The British positions in Libya now looked dangerously exposed.
Those who stayed behind had little training for desert warfare and lacked good equipment. This shift left Cyrenaica wide open just as German reinforcements rolled into Tripoli.
Arrival of the Afrika Korps and Rommel’s Leadership
The German intervention in North Africa kicked off in February 1941. Generalleutnant Erwin Rommel led a small but mobile force—the Deutsches Afrikakorps—sent to help stabilize the front after Italy’s defeats.
Deployment of the 5th Light Division
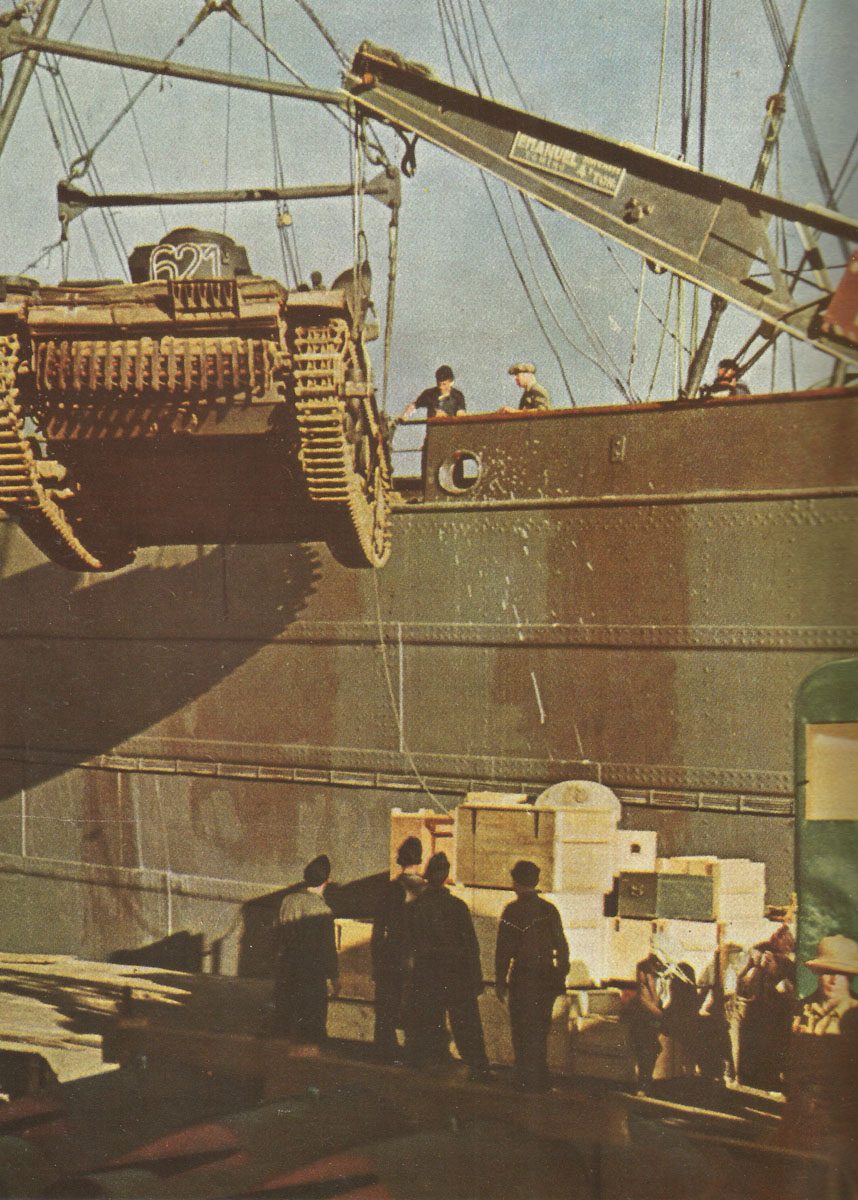
On February 14, 1941, the first units of the German 5th Light Division arrived at Tripoli. Rommel wasted no time and pushed his forces forward, even though their heavy equipment was still crossing the Mediterranean.
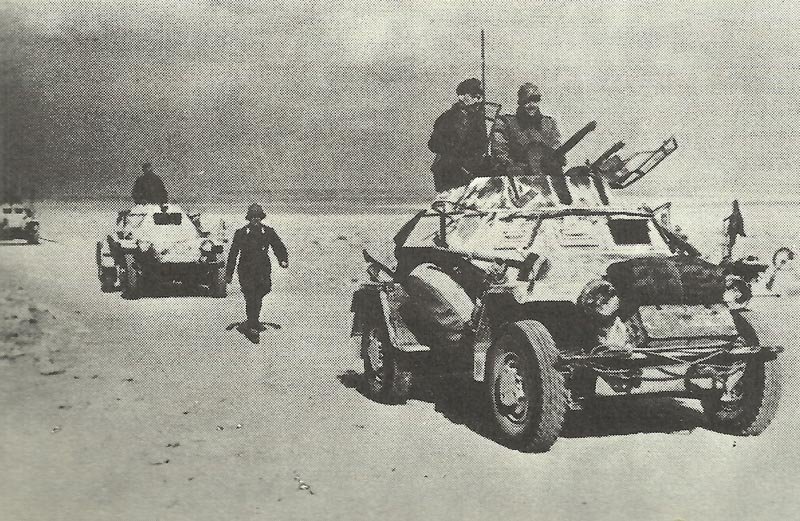
Advance units moved east along the Via Balbia coastal road toward Sirte. The 5th Light Division became the core of Germany’s early commitment in North Africa.
Its reconnaissance units clashed with the British 11th Hussars near Nofilia on February 24, 1941. That was the first direct German-British combat in the desert.
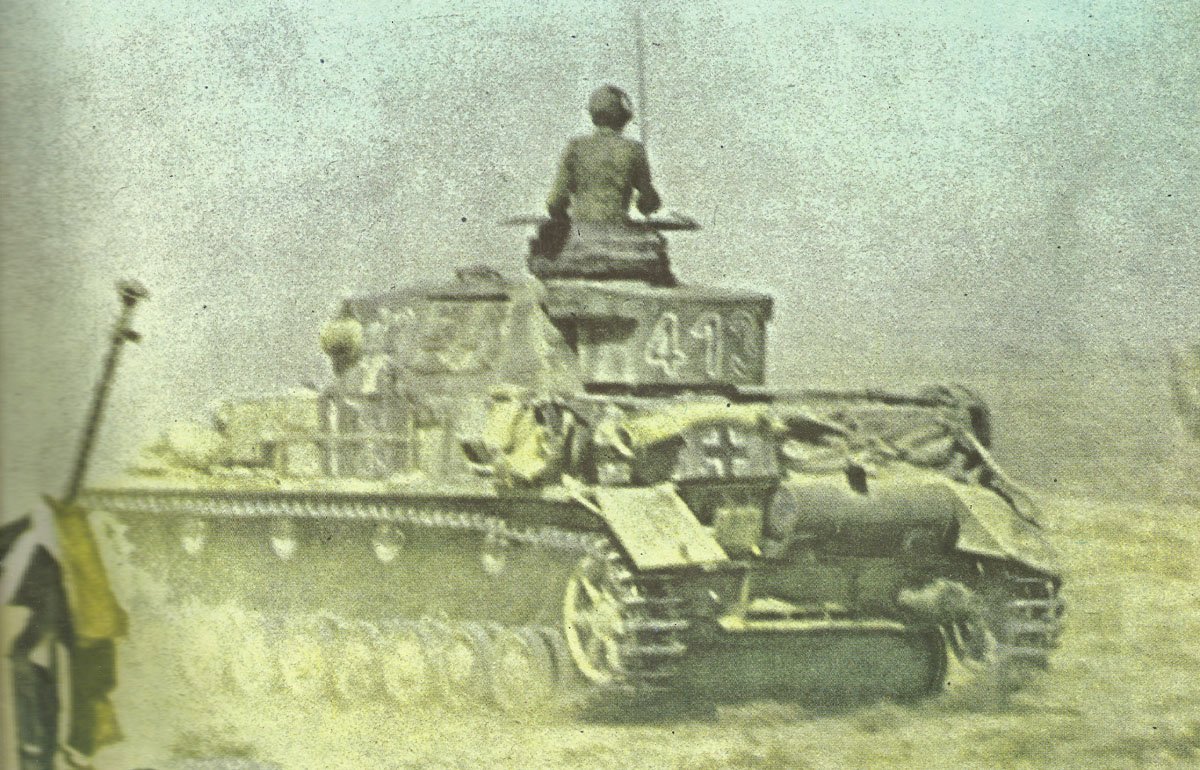
The division included Aufklärungs-Abteilung 3 (reconnaissance battalion) and Panzer-Regiment 5, which had Panzer III and IV tanks. These units adapted quickly to the desert, despite the harsh environment.
Formation and Role of Deutsches Afrika Korps
On February 19, 1941, the German force officially got the name Deutsches Afrika Korps (DAK). That name became shorthand for German operations in North Africa for the rest of the war.
The Afrika Korps was supposed to include two divisions: the 5th Light Division and, arriving later, the 15th Panzer Division. Technically, the force operated under Italian High Command, but Rommel mostly did his own thing.
The Italian Ariete Armoured Division and four Italian infantry divisions—Trento, Brescia, Pavia, and Sabratha—came under Rommel’s operational command. This gave him about five divisions, though the German units had better equipment and training.
Rommel’s Command Style and Deception Tactics
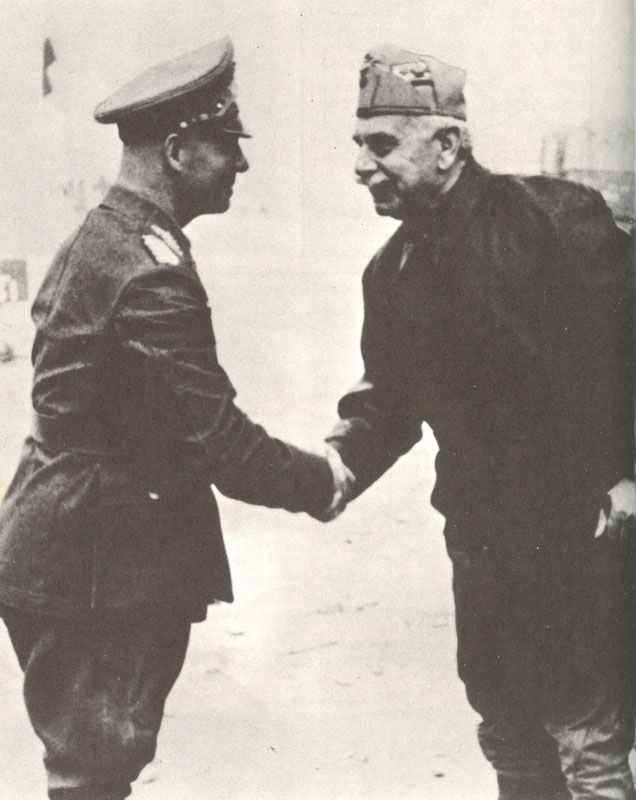
Rommel showed his aggressive style right away after arriving in Libya on February 12, 1941. He met with General Italo Gariboldi and quickly sized up the situation.
Rommel earned the “Desert Fox” nickname for his bold moves and risk-taking. On March 19, 1941, he flew to Berlin and got strict orders to stay defensive until the 15th Panzer Division showed up in late May.
He came back to Libya on March 21 and immediately ignored those orders. Just three days later, he launched his first offensive at El Agheila.
He always preferred to seize the initiative rather than wait for the perfect moment. His forces relied on speed and surprise to make up for their smaller numbers.
German units also intercepted British wireless traffic, which handed Rommel valuable intel about enemy positions and weak spots.
The Advance Across Cyrenaica
Rommel’s forces swept across Cyrenaica in early April 1941. He split his troops into separate columns, moving along the coast and inland, and caught British defenders by surprise.
Battle at El Agheila and Mersa Brega
On March 24, 1941, German forces attacked El Agheila, the gateway between Tripolitania and Cyrenaica. The III Reconnaissance Battalion hit the small British garrison, which withdrew after mining the fort and airfield.
The Germans advanced quickly to Mersa Brega, a few miles east along the Gulf of Sirte. At Mersa Brega, the Support Group of the 2nd Armoured Division defended an eight-mile gap between the coast and the salt marshes.
They had one infantry battalion, some field guns, and anti-tank guns, with the 3rd Armoured Brigade five miles behind. Rommel attacked on March 31 with the 5 Light Division.
The British held out at first, but Rommel found a coastal route and sent MG Battalion 8 on a flanking move. The Support Group pulled back after losing 30 lorries and 50 Bren gun carriers.
Both sides lost tanks—six British cruiser tanks and three German Panzer IIIs and IVs. The Germans kept pushing forward.
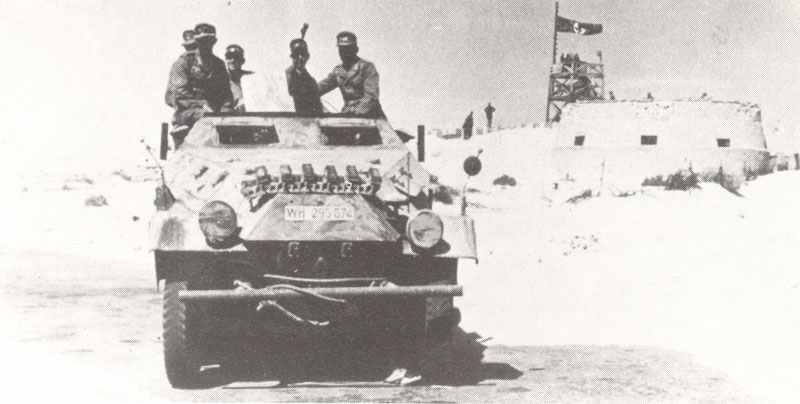
Capture of Agedabia and Benghazi
Rommel moved on to Agedabia, which fell on April 2, 1941. Even German commanders back in Berlin were surprised by the speed of the advance.
From Agedabia, Rommel faced three possible routes: north to Benghazi, northeast to Msus, or east to Tengeder. He decided to take all three at once.
The III Reconnaissance Battalion and the Italian Brescia Division went north along the coastal road. On April 4, they entered Benghazi without a fight, but the British had already set fire to their supply dumps.
The coastal advance didn’t stop there. The Germans reached Er Regima, where Australian forces with 24-pounder guns briefly slowed them down.
By April 5, Rommel’s left column reached Barce, while Australian units managed a skillful retreat, staying just ahead of their pursuers.
Flanking Maneuvers and Use of Via Balbia
Rommel sent two more columns to block British retreat routes. The center column—Panzer Regiment 5, most of the Ariete Division, and units from 5 Light Division—headed northeast toward Msus and Mechili.
The right column moved east to Ben Gania and Bir Tengeder, then turned north. This multi-pronged attack boxed in British units across Cyrenaica.
On April 6, the center column took fuel dumps at Msus and Mechili, while the right column reached Mechili from another direction. The British 3rd Armoured Brigade got trapped between the columns and lost most of its tanks.
By April 7, the left column reached Derna, and the center column arrived at Gazala. The 3rd Indian Motorised Brigade and what was left of the 2nd Armoured Division ended up surrounded at Mechili.
Australian forces managed to slip through German lines near Derna. The rapid, multi-route advance broke British defensive positions across western Cyrenaica.
Breaking British Defenses
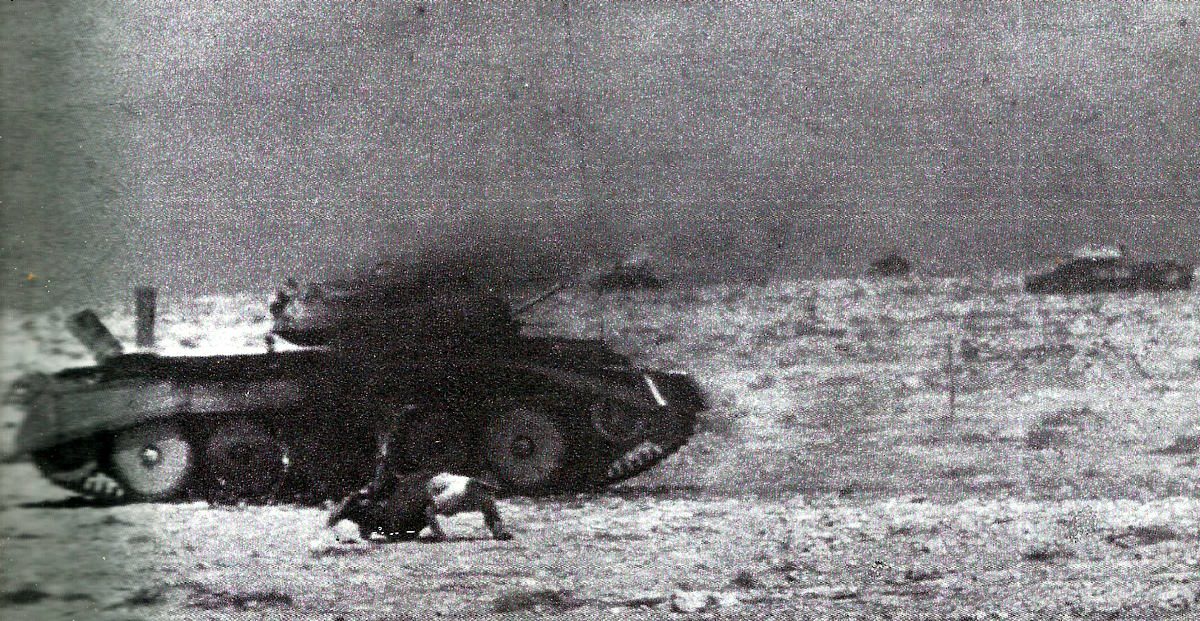
Rommel’s advance from March 31 blindsided the British and quickly smashed their defensive lines. The weakened Western Desert Force struggled to organize any real resistance as German and Italian units surged across Cyrenaica.
British Force Composition and Leadership Changes
The Western Desert Force shrank sharply after sending four divisions to Greece in early March. Only the 2nd Armoured Division, 9th Australian Division, and 3rd Indian Motor Brigade stayed behind to hold the huge stretch of land recently taken from the Italians.
The 6th Australian Division had already left for Greece, which left clear gaps in the defensive line. General Philip Neame took command of the Western Desert Force just before Rommel’s offensive kicked off.
He didn’t have much experience with desert warfare and inherited a force stretched thin across Libya. The 2nd Armoured Division wasn’t at full strength, with many of its tanks needing repair.
British commanders misjudged German abilities in desert conditions. They figured Rommel would need months to get ready for an attack.
Battles at Mechili and Derna
The 2nd Armoured Division and 3rd Armoured Brigade tried to block the German advance, but Rommel’s forces outmaneuvered them. Rommel split his troops, sending some directly across the desert and Italian units along the coast road.
British armor met German forces near Agedabia on April 2 and took heavy losses. At Mechili, British and Indian forces tried to set up a defensive position from April 6 to 8.
The garrison there included parts of the 3rd Indian Motor Brigade and 2nd Armoured Division. German forces surrounded them and forced a surrender on April 8, capturing General Neame and about 2,000 troops.
Derna fell quickly as German units bypassed British positions. The rapid German advance made it impossible for the Western Desert Force to organize solid defensive lines.
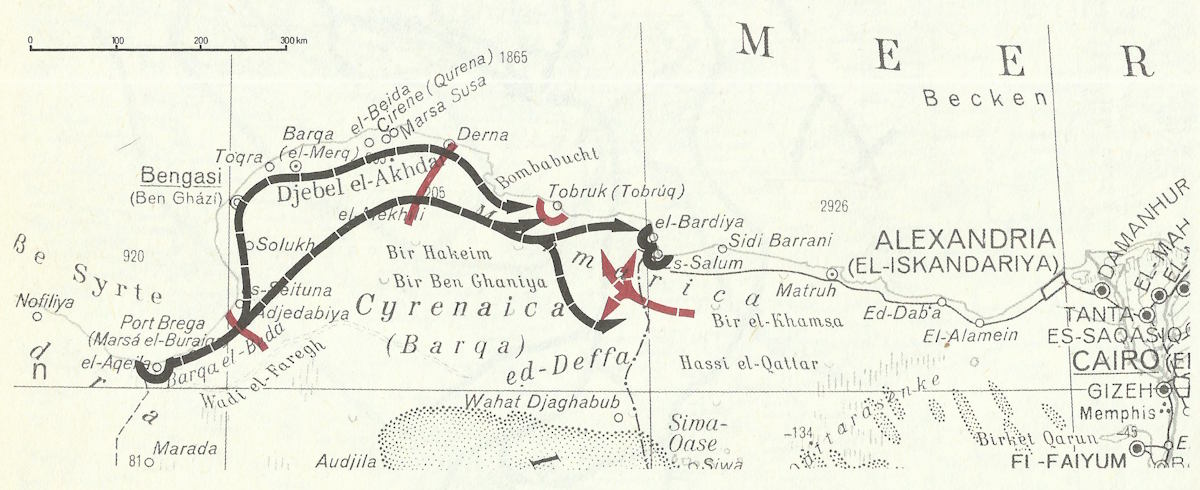
Encirclement Operations at Beda Fomm and Sollum
The British had won big at Beda Fomm in February, but now they were retreating through the same ground. Rommel’s troops chased them hard, trying to cut off British units before they could reach Egypt.
The Germans reached Sollum on the Egyptian border by mid-April. The German advance stalled at the Egyptian frontier.
Rommel’s forces were stretched thin after pushing 500 miles so quickly. Supply lines became a real problem, and bypassing Tobruk instead of taking it left German troops exposed.
The 9th Australian Division held Tobruk against repeated German attacks, denying Rommel a key port for resupply.
The Siege of Tobruk and Its Significance
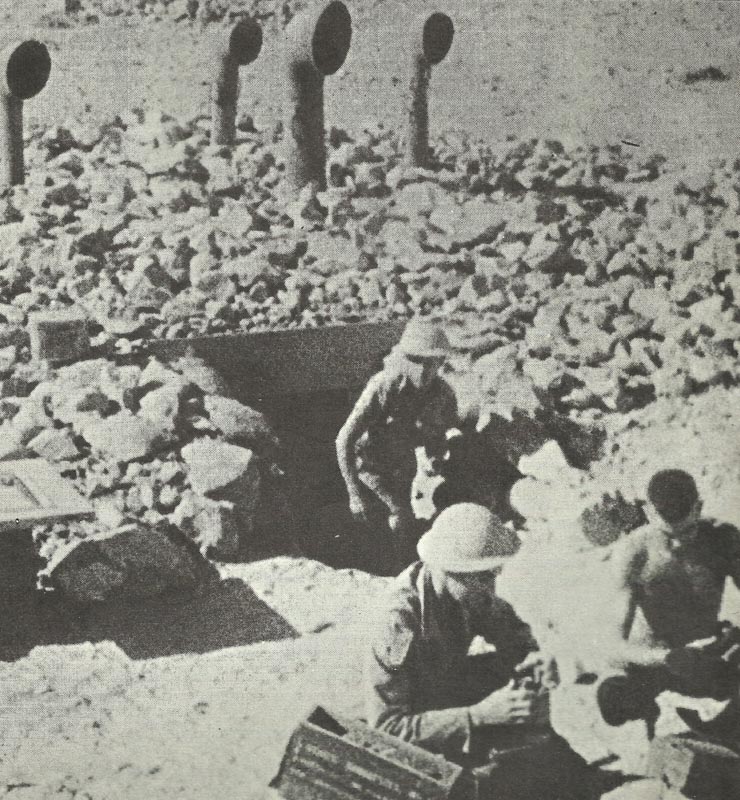
The siege of Tobruk lasted from April 10 to December 16, 1941. It was the first time German Panzer units were stopped in World War II.
Defending this deep-water port kept Rommel from advancing into Egypt and forced him to split his forces. He had to rely on long, vulnerable supply lines.
Initial Assaults and Defensive Preparations
Rommel launched his first attack on Tobruk on April 10, right after his troops surrounded the port. General von Prittwitz led the III Reconnaissance Battalion in a rushed assault, but the 1st Battalion, Royal Northumberland Fusiliers stopped them cold.
Prittwitz was killed when an anti-tank shell hit his car. Rommel tried again on April 11, sending German infantry and tanks from V Panzer Regiment up the road from El Adem.
The 20th Australian Brigade stopped the infantry, and anti-tank guns knocked out one Panzer III, two Italian M13s, and one L3 tankette. The attackers pulled back after about half an hour.
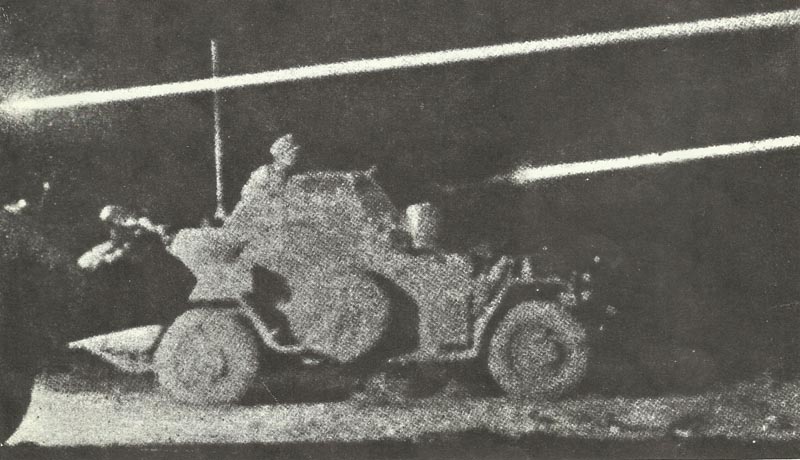
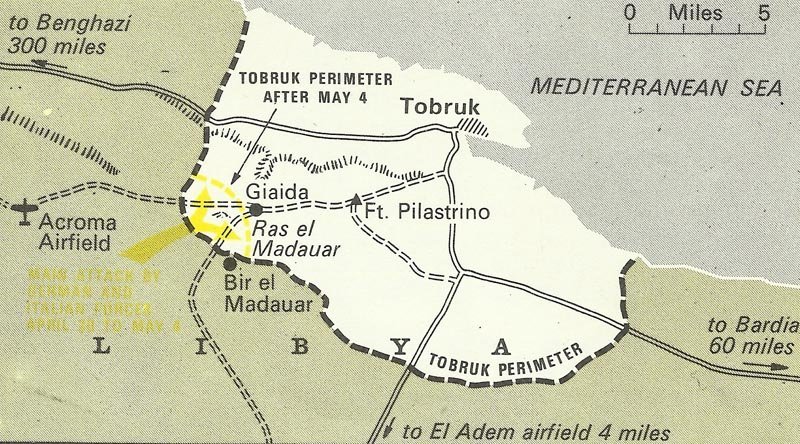
The most serious assault came on April 13-14. German artillery hammered posts R31 and R32, letting infantry breach the outer perimeter overnight.
At 5:00 AM on April 14, the 2nd Battalion, V Panzer Regiment pushed through the gap but ran into a trap. General Morshead had moved up two batteries of 25-pounders, the 2/3rd Anti-Tank Regiment, and 1 Royal Tank Regiment.
The Germans lost seventeen tanks in just twenty minutes and retreated. Italian forces with the Ariete division attacked posts S13 and S17 on April 15 but got pushed back.
Another Italian attack at Ras el Madauur on April 16 fell apart when a Bren carrier platoon counterattacked, capturing 803 Italian prisoners.
Role of Allied Units: Tobruk Garrison and 9th Australian Division
The Tobruk garrison started out with about 30,000 men, mostly from the Australian 9th Division under General Morshead. The force had four Australian brigades: the 18th, 20th, and 24th of the 9th Division, plus the 18th Brigade from the 7th Australian Division.
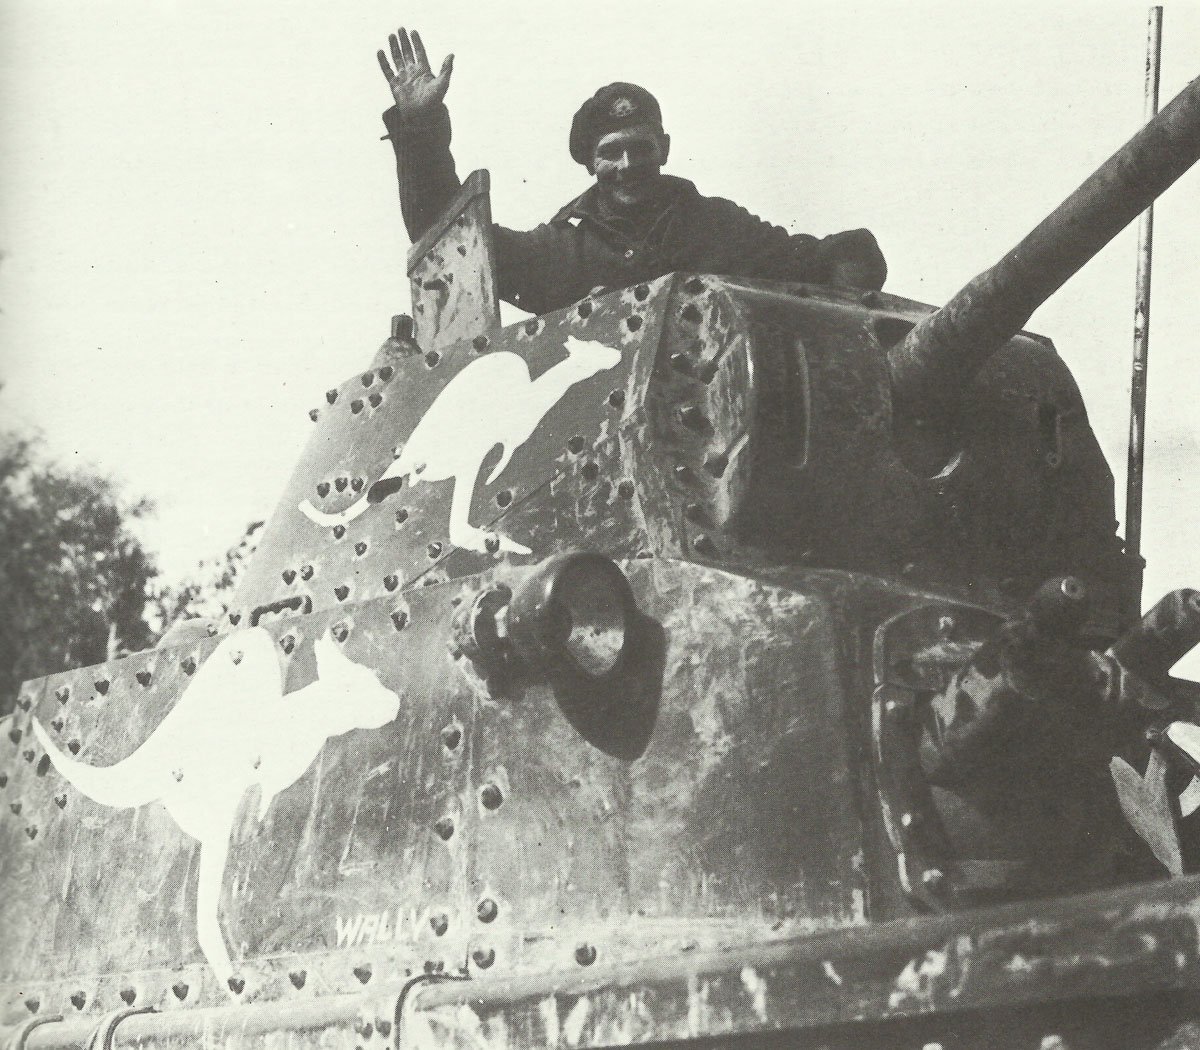
British artillery played a crucial role, with four regiments of 25-pounders covering the thirty-mile perimeter. The garrison also used captured Italian guns, which they nicknamed “Bush Artillery.”
Anti-aircraft defenses included two regiments of 3.7-inch guns and three regiments of 40mm Bofors. Morshead kept up an active defense, sending out regular patrols and launching counterattacks.
On the night of April 22, his troops captured nearly 450 prisoners in raids on the Ras El Madauur sector. When Rommel created a three-mile salient after his April 30-May 1 offensive, Morshead counterattacked on May 2-3, even though losses were heavy.
These aggressive moves convinced the Germans to take a more cautious siege approach. The Australian government pushed for its troops to withdraw during the summer.
Three naval operations swapped out most Australian units for the Polish Carpathian Brigade and British 70th Division between August and October. The Australian 2/13th Battalion stayed behind after its transports were damaged.
Major-General R.M. Scobie took over command from Morshead.
Impact on Axis Supply Lines and Operations
Holding Tobruk kept Rommel from using the only deep-water port between Benghazi and Alexandria. His forces had to rely on Benghazi, more than 200 miles west of the Egyptian frontier, which created brutal supply problems.
Every convoy had to cover that distance, and Allied forces threatened the routes from their stronghold in Tobruk. Rommel split his troops between the eastern frontier and the siege of Tobruk.
He set up defensive posts all around the perimeter to stop supply infiltration and guard his exposed road links. This took away troops and resources he needed at the Gazala line and limited his options for moving into Egypt.
British forces broke the siege during Operation Crusader in December 1941. The eight-month defense kept Rommel from capitalizing on his early wins in Cyrenaica and gave the British time to rebuild.
Tactical Innovations and Desert Warfare
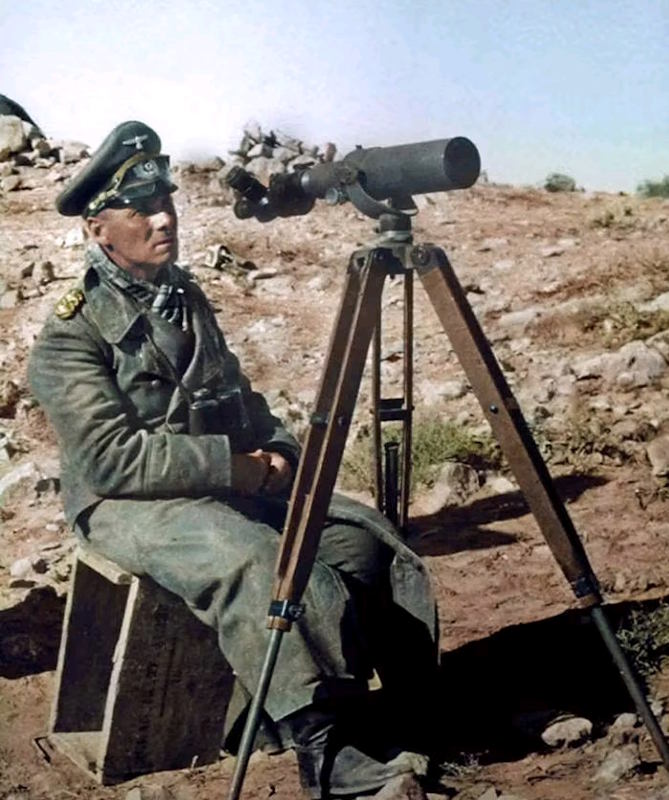
Rommel changed the way battles played out in North Africa with his mobile tactics, clever deception, and creative solutions to supply headaches. These moves defined his early success in 1941.
Use of Mobility and Blitzkrieg Principles
Rommel brought blitzkrieg speed and coordination to the desert and made it work. He kept his forces moving so fast that British commanders could barely keep up.
Rommel often traveled with the lead units, making snap decisions on the ground. His columns moved along several routes at once, like in his three-pronged push from Agedabia in April 1941.
He used tanks as mobile strike forces, not just for defense. He mixed panzer units with motorized infantry and anti-tank guns, creating flexible battle groups.
These groups could punch through weak spots in British lines before defenders had time to react. The flat, open desert helped this fast-moving approach.
Rommel’s forces could swing around fixed positions and threaten supply lines, forcing British units to pull back or risk getting surrounded. That’s what happened to the 2nd Armoured Division near Mechili.
Deception Techniques and Camouflage
Rommel used psychological tricks to hide how few troops he really had during his first offensive. He ordered vehicles to drive in circles, kicking up dust clouds that made it look like more forces were present.
His units even mounted aircraft engines on trucks to stir up extra sand and mess with British recon. Germans used captured equipment to fill out their numbers.
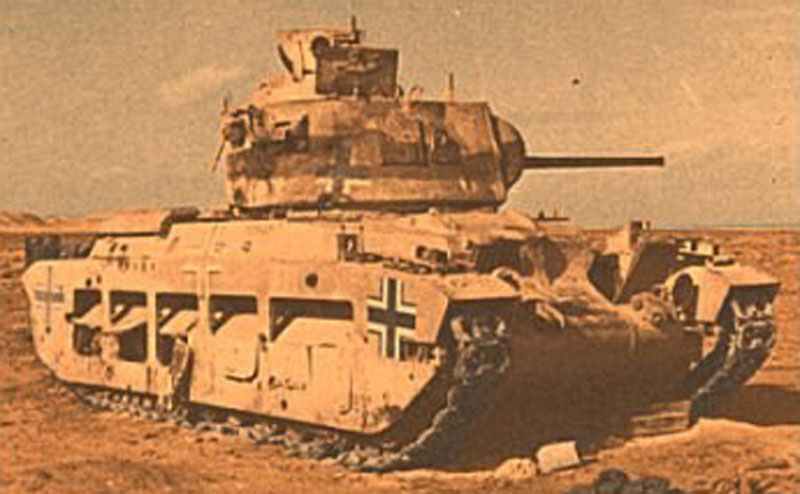
One British regiment ended up operating Italian M-13 tanks taken from earlier battles. Rommel also set up dummy tanks made from vehicle frames and canvas to make his strength look bigger at key spots.
He moved his troops at night to hide their real positions and numbers. The huge desert made it tough for the Royal Horse Artillery and other British units to figure out how many Germans they faced.
This uncertainty led British commanders to overestimate the enemy’s strength.
Challenges of Logistics and Supply
Distance made supply a nightmare for both sides in the desert. Rommel’s advance from El Agheila to the Egyptian border covered over 600 miles in two months.
Every gallon of fuel and every shell had to make that journey from Tripoli. Germans captured British supply dumps at Msus and elsewhere, which helped keep them going when their own lines stretched thin.
Water was always scarce, so careful planning was vital for both men and machines. Port capacity limited what Rommel could actually do.
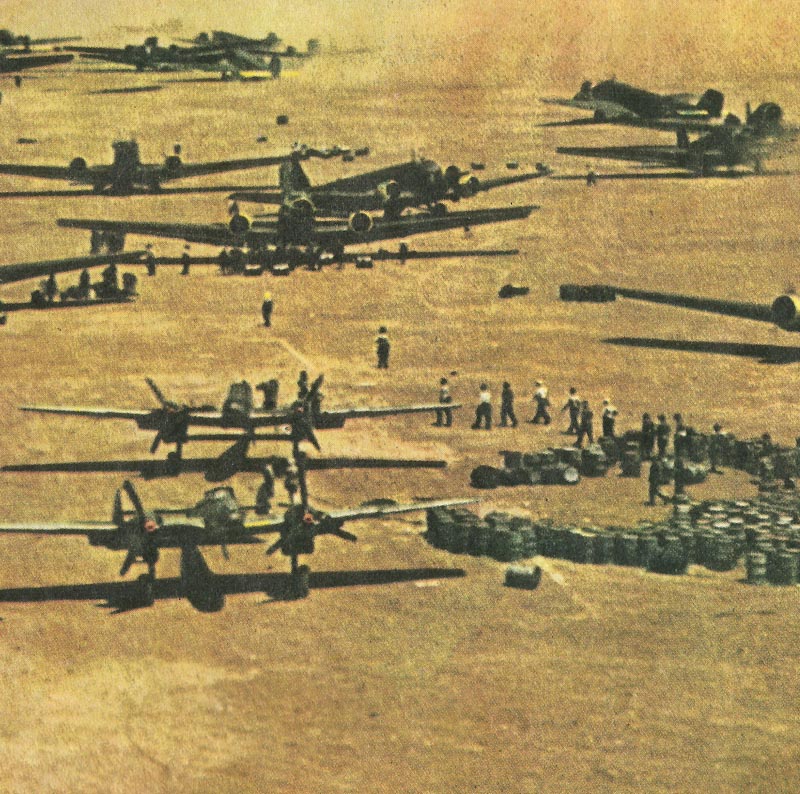
Tripoli could only handle so much, and the British had destroyed facilities at Benghazi before pulling back. Germans used the small port at Ras el Ali to get supplies closer to the front, but it barely kept up with demand.
Aftermath and Strategic Consequences
Rommel’s offensive fizzled out by late April 1941. Tobruk was under siege, and Axis forces were stretched thin along the Egyptian frontier.
British command launched counteroffensives to relieve Tobruk and push Rommel back. The campaign dragged into a long struggle that shaped the whole North African theater.
End of the Offensive and Allied Counterattacks
By April 20, 1941, Rommel’s rapid push had run out of steam. His troops held most of Cyrenaica but didn’t capture Tobruk, which stayed a key Allied stronghold behind Axis lines.
The Afrika Korps held positions at Sollum, Halfaya Pass, and Bardia on the Egyptian frontier, but their supply lines stretched over 1,000 kilometers back to Tripoli. The siege of Tobruk tied down a lot of Axis resources.
The 9th Australian Division, backed by British units, kept up aggressive patrols and raids, making it impossible for Rommel to just contain the garrison with a small force. Luftwaffe bombers hit the port daily, but supplies still got through by sea.
Claude Auchinleck replaced Archibald Wavell as British commander in July 1941 and started planning a major offensive. The British saw that holding Tobruk denied Rommel a vital supply port and forced him to keep up a costly siege while defending a long frontier.
Operations Brevity, Battleaxe, and Crusader
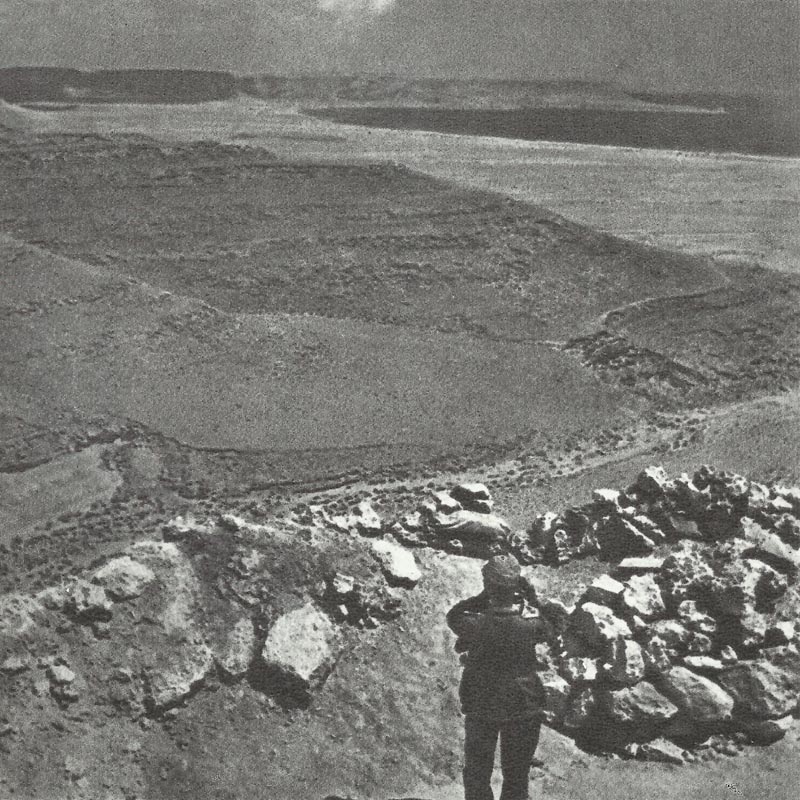
The British launched Operation Brevity on May 15, 1941, attacking Axis positions at Halfaya Pass and Fort Capuzzo. Early gains didn’t last—Rommel counterattacked and retook Halfaya Pass by May 27.
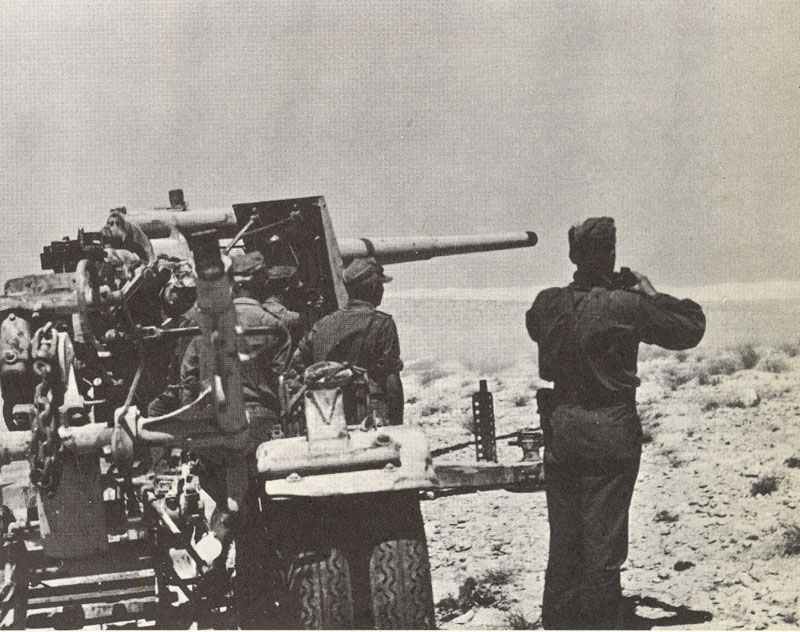
The Germans fortified the pass with 88mm anti-tank guns, making it a tough spot. Operation Battleaxe followed on June 15, 1941, with the British aiming to relieve Tobruk and smash the Afrika Korps.
The 15th Panzer Division, now fully in North Africa, joined the 5th Light Division (later called 21st Panzer Division) and stopped the attack. British tank losses topped 90 vehicles, while German casualties were lighter.
Operation Crusader started on November 18, 1941, as a big British push. Auchinleck committed over 700 tanks and several divisions to break the siege of Tobruk.
After heavy fighting around El Adem and Sidi Rezegh, British troops linked up with the Tobruk garrison on November 27. Rommel pulled back to defensive positions near El Agheila by December, giving up the ground he’d won in the spring.
Long-Term Impact on the North African Campaign
Rommel’s first offensive set the tone for the North African campaign: fast advances, then supply problems, then Allied counterattacks. Neither side had the resources for a knockout blow without solving their supply issues.
The campaign’s main focus shifted again and again along the coast road between El Agheila and the Egyptian frontier. Tobruk’s stubborn defense showed that well-fortified ports could hold out against Axis attacks, forcing Rommel to use resources he needed elsewhere.
The battle experience both sides gained in 1941 shaped later clashes at the First Battle of El Alamein in July 1942 and the decisive Second Battle of El Alamein in October-November 1942. The strategic impact went beyond North Africa.
Hitler’s decision to send German forces to help Italy created a new theater that pulled resources from other fronts. British success in finally beating Rommel at El Alamein, combined with American landings in Northwest Africa, led to the Axis defeat in Tunisia by May 1943.
Frequently Asked Questions
Rommel’s first offensive in North Africa raised important questions about Axis strategy, Allied resistance, and the tough logistics of desert warfare. These questions help clarify the goals, challenges, and bigger picture of the 1941 campaign.
What were the key objectives of Rommel’s initial offensives in North Africa?
Rommel wanted to stabilize the North African front after Italian forces suffered heavy defeats during Operation Compass. The Oberkommando der Wehrmacht told him to stay defensive and prevent more Italian territorial losses in Libya.
But Rommel didn’t stick to just holding ground. He pushed to recapture El Agheila and Mersa Brega, aiming to secure Axis supply routes along the coastal highway.
Taking those positions would give the Axis a base for further moves into Cyrenaica. As the offensive picked up speed, Rommel shifted his focus to Benghazi and eventually Tobruk.
Tobruk, a key port city, could support advances toward Egypt if captured. Rommel even talked about reaching the Suez Canal, though that goal was honestly way beyond his official orders and what he could actually pull off at the time.
What strategic advantages did Rommel seek to gain in the North African Campaign?
Rommel saw that whoever controlled the coastal ports would have the upper hand in North Africa. Capturing Benghazi, Tobruk, and Bardia would shorten Axis supply lines and give them facilities to keep going.
These ports also took away vital logistics centers from the British. When Rommel’s forces seized Halfaya Pass, they gained control of the main coastal road into Egypt.
This spot let them block British relief efforts and defend against attacks from the Egyptian border. The pass itself was a natural chokepoint, making Rommel’s smaller force much tougher to dislodge.
Rommel’s quick advances kept the British scrambling and stopped them from setting up solid defenses. His aggressive moves forced the British into a messy retreat before they could regroup in Cyrenaica.
How did the outcomes of early battles in North Africa influence subsequent military operations?
The rapid fall of El Agheila and Mersa Brega exposed British weakness and gave Rommel the confidence to press on. These wins showed the British were spread thin and lacked enough artillery and tanks.
Rommel took advantage, pushing forward before the British could bring in reinforcements. The capture of Benghazi gave him port facilities and seized supplies, which helped him keep advancing into Cyrenaica.
Benghazi’s loss forced the British to speed up their retreat toward Tobruk and the Egyptian border. But things changed after the failed assault on Tobruk during the Easter Battle.
Rommel lost momentum and took heavy casualties—16 tanks destroyed and up to 400 men lost. Tobruk held out, so Rommel had to settle for a siege and defend his exposed desert flank at the same time.
Which Allied forces were engaged in countering Rommel’s advances in 1941?
The British 2nd Armoured Division and parts of the 7th Armoured Division tried to stop Rommel at El Agheila and Mersa Brega. These units were already short on tanks and men after earlier fighting.
British armoured cars from the 3rd King’s Own Hussars and 11th Hussars ran reconnaissance and delay missions. The Australian 9th Division under Major-General Leslie Morshead formed the backbone of Tobruk’s defense.
Australian infantry, including the 2/17th Battalion and 20th Australian Brigade, fought off several German attacks on the fortress. Their grit earned them a reputation as tough opponents, even in Rommel’s eyes.
General Archibald Wavell led British Middle East forces but faced major shortages. He had to send about four divisions to Greece in early March 1941, which left North Africa dangerously weak.
Generals Philip Neame and Richard O’Connor tried to organize the British retreat but ended up captured near Mechili on April 6. That loss of leadership didn’t help the British situation at all.
What impact did Rommel’s operations in North Africa have on the broader scope of World War II?
Rommel’s offensive stopped the total collapse of Axis positions in North Africa and saved Italy from more embarrassment. His success kept Germany involved in the Mediterranean for years, tying down resources that might have gone elsewhere—like the Soviet Union.
The campaign turned into a drawn-out contest that held up large British Commonwealth forces. Units that could’ve been used in other theaters got stuck in North Africa to deal with Rommel.
Defending Egypt and the Suez Canal became a top priority for Britain. The siege of Tobruk turned into a symbol of Allied resistance and tied down Axis troops Rommel needed for other moves.
His forces ended up stretched thin, running long supply lines while maintaining the siege and defending the Egyptian border. That overextension made the Axis vulnerable to British counterattacks later in 1941.
How did the supply and logistics challenges affect the effectiveness of Rommel’s forces?
Rommel pushed his forces forward at a breakneck pace, but that meant his supply lines stretched for hundreds of miles across the desert. By early April 1941, fuel and water shortages started to drag down his momentum.
His troops had to haul supplies all the way from Tripoli, since Tobruk stayed stubbornly in British hands. The failure to capture Tobruk meant Rommel missed out on the most important port along the Libyan coast.
Without that port, his logistics situation stayed shaky. Every mile east just made it harder to keep his men and vehicles going.
After three weeks of nonstop action, Rommel’s forces looked worn out. Vehicles broke down, and you could see the exhaustion in the troops. The logistical strain forced Rommel to hit pause on major operations and wait for the 15th Panzer Division to show up in late May.
References and literature
Krieg der Panzer (Piekalkiewicz)
Chronology of World War II (Christopher Argyle)
Der Grosse Atlas zum II. Weltkrieg (Peter Young)
Kriegstagebuch des Oberkommandos der Wehrmacht, Band 1-8 (Percy E. Schramm)
Das Deutsche Reich und der Zweite Weltkrieg (10 Bände, Zentrum für Militärgeschichte)
Der 2. Weltkrieg (C. Bertelsmann Verlag)
Zweiter Weltkrieg in Bildern (Mathias Färber)
A World at Arms – A Global History of World War II (Gerhard L. Weinberg)
Signal, Years of Triumph 1940-42 + 1943-44 – Hitler’s Wartime Picture Magazine (S.L.Mayer)
The Desert War (Andrew Kershaw, Ian Close)